
Make your own light switch: press once to turn on, again to turn off.
अपना लाइट स्विच बनाओ: एक बार दबाओ तो ON, दोबारा दबाओ तो OFF।
🎯 What are we building?
Real switches stay ON after you let go. We write code that remembers the LED’s state, so each press flips it from ON to OFF or OFF to ON.
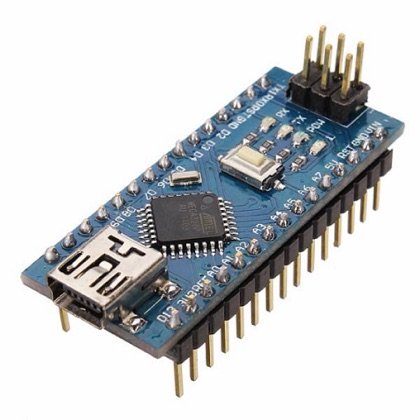 Arduino Nano
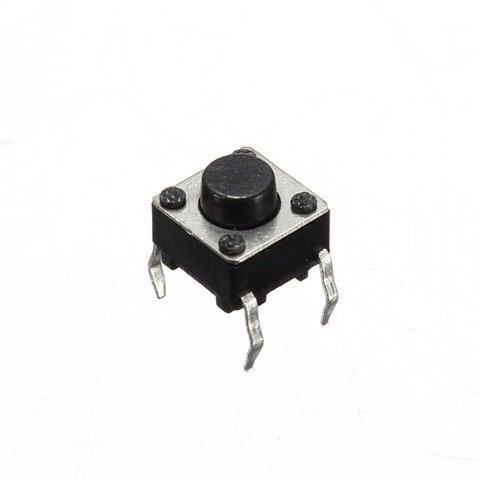 Push Button
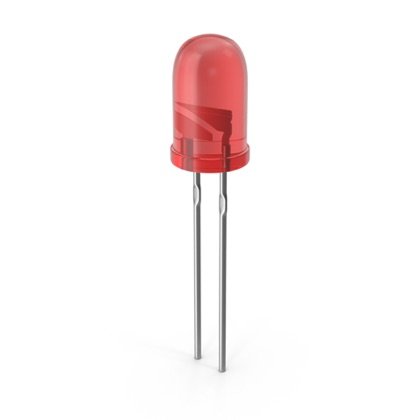 LED
LED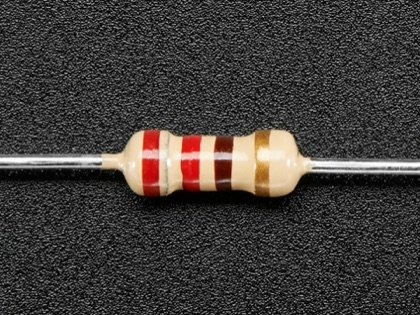 Resistor
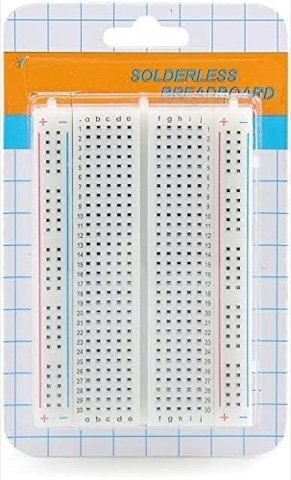 Breadboard
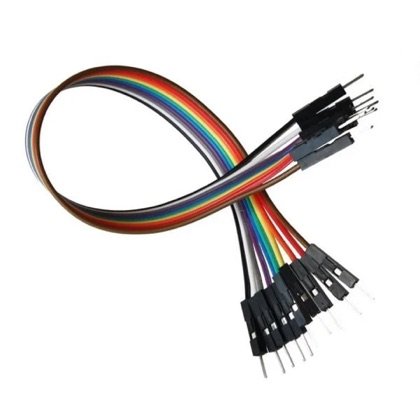 Wires
Wires🔌 Circuit diagram
Pin numbers follow the Kod2Kids books. You can use other pins, just change the same numbers in the code.
🎮 Play with this experiment⚙️ How does it work?
The program has a memory called a variable that holds ON or OFF. Each time the button is pressed, the program flips this memory and then updates the LED. A tiny wait stops one press from counting twice.
🌍 Where is this used in real life?
- Room light switches and fan switches stay in the state you set.
- TV remotes’ power button toggles ON and OFF.
- Phone side buttons wake and sleep the screen.
💡 What could YOU invent with it?
Design a “touch lamp” for a child’s bedside: one press switches it on, another off, with no hunting for a tiny switch in the dark. Helpful for kids and elders in the night.
🧪 Try this!
What if the LED had three states: OFF, dim, bright? How would you change the memory?
🎯 हम क्या बना रहे हैं?
असली स्विच छोड़ने के बाद भी ON रहते हैं। हम ऐसा कोड लिखते हैं जो एलईडी की हालत याद रखे, ताकि हर बार दबाने पर वो ON से OFF या OFF से ON हो जाए।
अरुडिनो नैनोपुश बटनएलईडीरेसिस्टरब्रेडबोर्डतार🔌 सर्किट डायग्राम
पिन नंबर Kod2Kids की किताबों के हिसाब से हैं। आप दूसरे पिन भी लगा सकते हो, बस कोड में वही नंबर बदल दो।
🎮 इस एक्सपेरिमेंट के साथ खेलो⚙️ ये कैसे काम करता है?
प्रोग्राम में वेरिएबल नाम की एक याददाश्त होती है जो ON या OFF रखती है। हर बार बटन दबने पर प्रोग्राम इस याददाश्त को पलटता है और फिर एलईडी को अपडेट करता है। छोटा सा इंतज़ार एक दबाव को दो बार गिने जाने से रोकता है।
🌍 असली ज़िंदगी में ये कहाँ काम आता है?
- कमरे की लाइट और पंखे के स्विच जिस हालत में छोड़ो उसी में रहते हैं।
- टीवी रिमोट का पावर बटन ON और OFF बदलता है।
- फोन का साइड बटन स्क्रीन को जगाता और सुलाता है।
💡 इससे आप क्या नया बना सकते हो?
बच्चे के बिस्तर के पास “टच लैंप” डिज़ाइन करो: एक बार दबाओ तो जले, दोबारा दबाओ तो बुझे, अँधेरे में छोटा स्विच ढूँढना नहीं पड़ेगा। रात में बच्चों और बुज़ुर्गों के लिए काम की चीज़।
🧪 खुद करके देखो!
अगर एलईडी की तीन अवस्थाएँ हों: OFF, हल्की, तेज़? याददाश्त में क्या बदलाव करोगे?
अरुडिनो नैनो कोडिंग और इलेक्ट्रॉनिक्स किट
Get the kit / किट खरीदें →
