
Press the button and the light turns on. The board is listening to you!
बटन दबाओ और बत्ती जल उठे। बोर्ड आपकी बात सुन रहा है!
🎯 What are we building?
Until now the board only gave orders. Now it listens! We connect a push button as an input and make the LED glow only while the button is pressed.
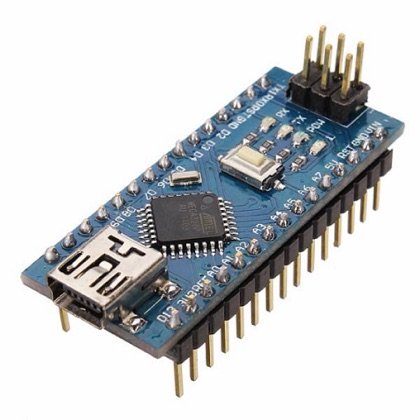 Arduino Nano
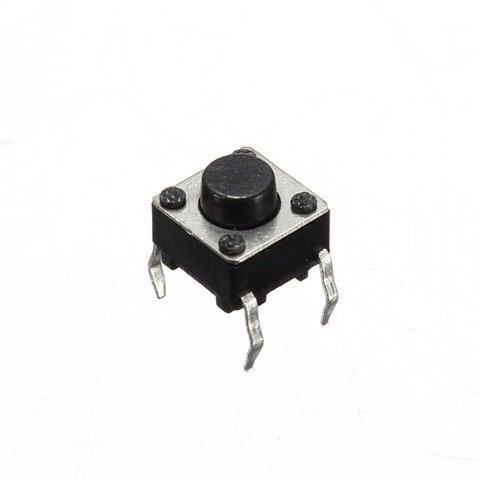 Push Button
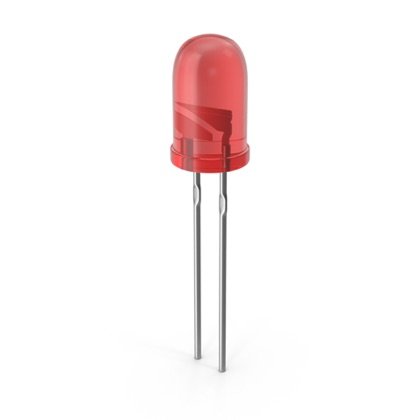 LED
LED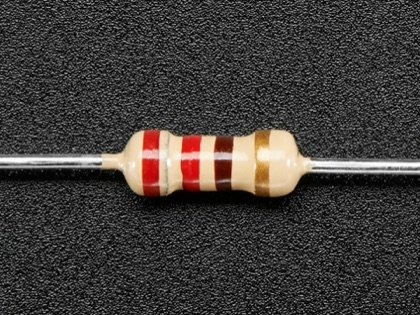 Resistor
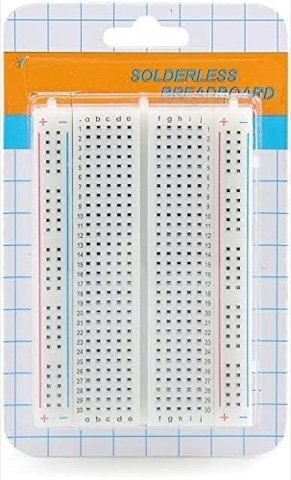 Breadboard
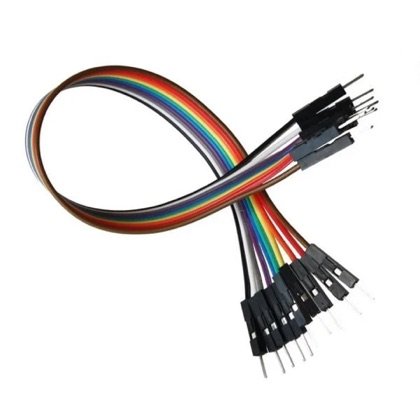 Wires
Wires🔌 Circuit diagram
Pin numbers follow the Kod2Kids books. You can use other pins, just change the same numbers in the code.
📘 Full step-by-step build with photos: Class 3 book, Lab 2 (LED Circuit with Switch).
🎮 Play with this experiment⚙️ How does it work?
A button is a gap in a wire that closes when pressed. The Nano reads one pin to see if the button is pressed or not, and an “if” line in the code decides whether to turn the LED on.
🌍 Where is this used in real life?
- Doorbells ring only while you press the button.
- Lift buttons call the lift when pressed.
- Game controllers and keyboards are full of buttons.
💡 What could YOU invent with it?
Create a “call-help button” for a grandparent: a big button that turns on a light in the kitchen when pressed. It could help someone who cannot shout for help.
🧪 Try this!
Make a quiz buzzer light: two buttons, two LEDs. The first one to press wins the light!
🎯 हम क्या बना रहे हैं?
अब तक बोर्ड सिर्फ आदेश देता था। अब वो सुनता भी है! हम पुश बटन को इनपुट की तरह जोड़ते हैं और एलईडी सिर्फ तब जलती है जब बटन दबा हो।
अरुडिनो नैनोपुश बटनएलईडीरेसिस्टरब्रेडबोर्डतार🔌 सर्किट डायग्राम
पिन नंबर Kod2Kids की किताबों के हिसाब से हैं। आप दूसरे पिन भी लगा सकते हो, बस कोड में वही नंबर बदल दो।
📘 फोटो के साथ पूरा स्टेप-बाय-स्टेप निर्माण: क्लास 3 की किताब, लैब 2 (स्विच वाला एलईडी सर्किट)।
🎮 इस एक्सपेरिमेंट के साथ खेलो⚙️ ये कैसे काम करता है?
बटन तार में एक खाली जगह है जो दबाने पर बंद हो जाती है। नैनो एक पिन पढ़कर देखता है कि बटन दबा है या नहीं, और कोड की एक “अगर” लाइन तय करती है कि एलईडी जलानी है या नहीं।
🌍 असली ज़िंदगी में ये कहाँ काम आता है?
- डोरबेल तभी बजती है जब आप बटन दबाते हो।
- लिफ्ट का बटन दबाने पर लिफ्ट बुलाता है।
- गेम कंट्रोलर और कीबोर्ड बटनों से भरे होते हैं।
💡 इससे आप क्या नया बना सकते हो?
दादा-दादी के लिए “मदद बुलाओ बटन” बनाओ: बड़ा बटन जिसे दबाने पर रसोई में लाइट जल जाए। जो ज़ोर से आवाज़ नहीं लगा सकते, उनकी इससे मदद हो सकती है।
🧪 खुद करके देखो!
क्विज़ बज़र बनाओ: दो बटन, दो एलईडी। जो पहले दबाए उसकी बत्ती जले!
अरुडिनो नैनो कोडिंग और इलेक्ट्रॉनिक्स किट
Get the kit / किट खरीदें →
