
Turn the knob and the LED glows brighter or softer, smooth as silk.
नॉब घुमाओ और एलईडी रेशम सी चिकनी तरह तेज़ या हल्की होती है।
🎯 What are we building?
We connect the knob to the LED so that turning it changes the brightness. This is a dimmer, the same kind of switch used in many homes.
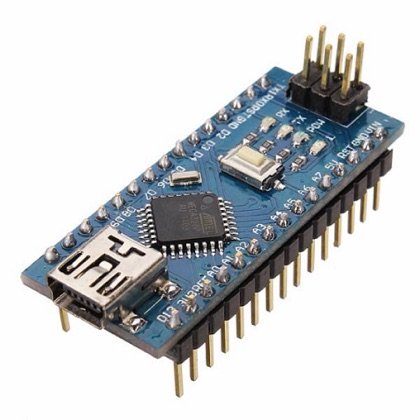 Arduino Nano
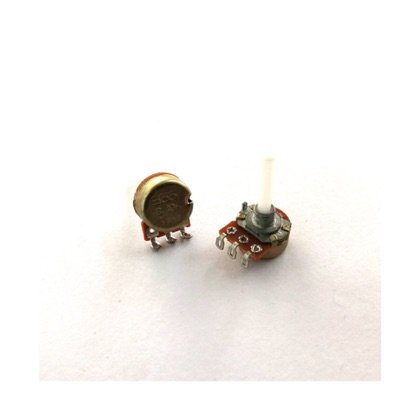 Potentiometer
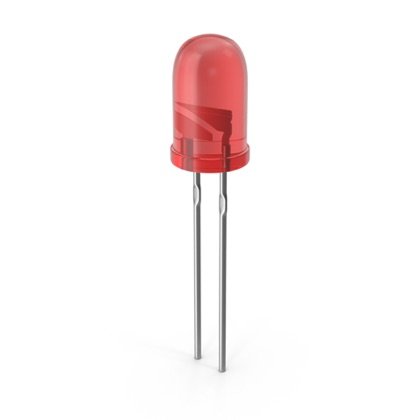 LED
LED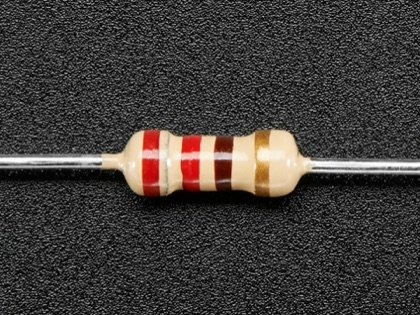 Resistor
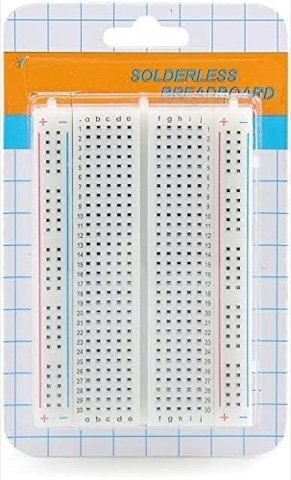 Breadboard
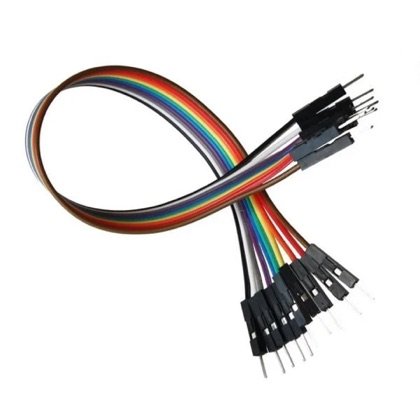 Wires
Wires🔌 Circuit diagram
Pin numbers follow the Kod2Kids books. You can use other pins, just change the same numbers in the code.
📘 Full step-by-step build with photos: Class 6 book, Lab 3 (LED Brightness Control).
🎮 Play with this experiment⚙️ How does it work?
The Nano uses PWM, which means switching the LED on and off thousands of times a second. If it stays ON longer each time, the LED looks brighter. If OFF is longer, it looks dimmer. Our eyes cannot see the fast flicker, only the average light.
🌍 Where is this used in real life?
- Phone screens change brightness using PWM.
- Dimmable bulbs in homes and cinemas.
- Car dashboard lights dim at night.
💡 What could YOU invent with it?
Invent a “baby-sleep night light” that you can dim to a soft glow. It could help babies and little children sleep peacefully and help parents check on them without waking them.
🧪 Try this!
Slowly turn the knob to find the lowest light you can still see. How does that number look on the serial monitor?
🎯 हम क्या बना रहे हैं?
हम नॉब को एलईडी से जोड़ते हैं ताकि घुमाने पर चमक बदले। ये डिमर है, वही स्विच जो कई घरों में लगा होता है।
अरुडिनो नैनोपोटेंशियोमीटरएलईडीरेसिस्टरब्रेडबोर्डतार🔌 सर्किट डायग्राम
पिन नंबर Kod2Kids की किताबों के हिसाब से हैं। आप दूसरे पिन भी लगा सकते हो, बस कोड में वही नंबर बदल दो।
📘 फोटो के साथ पूरा स्टेप-बाय-स्टेप निर्माण: क्लास 6 की किताब, लैब 3 (एलईडी ब्राइटनेस कंट्रोल)।
🎮 इस एक्सपेरिमेंट के साथ खेलो⚙️ ये कैसे काम करता है?
नैनो PWM इस्तेमाल करता है, यानी एलईडी को एक सेकंड में हज़ारों बार चालू-बंद करना। हर बार ON ज़्यादा देर रहे तो एलईडी तेज़ दिखती है, OFF ज़्यादा देर रहे तो हल्की। हमारी आँखें तेज़ झपक नहीं देख पातीं, सिर्फ औसत रोशनी दिखती है।
🌍 असली ज़िंदगी में ये कहाँ काम आता है?
- फोन की स्क्रीन PWM से चमक बदलती है।
- घरों और सिनेमा हॉल के डिमेबल बल्ब।
- कार के डैशबोर्ड की बत्तियाँ रात में हल्की हो जाती हैं।
💡 इससे आप क्या नया बना सकते हो?
ऐसा “बच्चे की नींद वाला नाइट लैंप” बनाओ जिसे नरम चमक तक धीमा कर सको। इससे बच्चे सुकून से सो सकेंगे और माता-पिता उन्हें जगाए बिना देख सकेंगे।
🧪 खुद करके देखो!
नॉब को धीरे-धीरे घुमाकर सबसे कम दिखने वाली रोशनी ढूँढो। सीरियल मॉनिटर पर वो नंबर कितना है?
अरुडिनो नैनो कोडिंग और इलेक्ट्रॉनिक्स किट
Get the kit / किट खरीदें →
