
Wave your hand and the light turns on, no touching and no switch!
हाथ हिलाओ और बत्ती जल जाए, न छूना न स्विच!
🎯 What are we building?
We join the IR sensor and an LED so that when your hand comes near, the LED lights up, and when you move away it goes off. It feels like magic but it is just code!
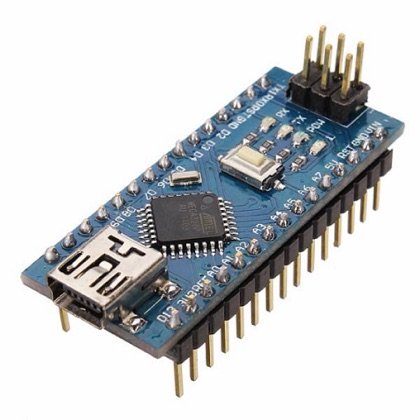 Arduino Nano
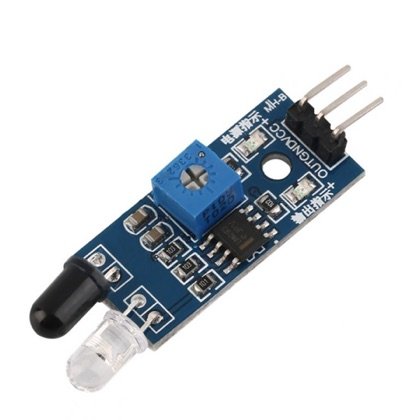 IR Sensor
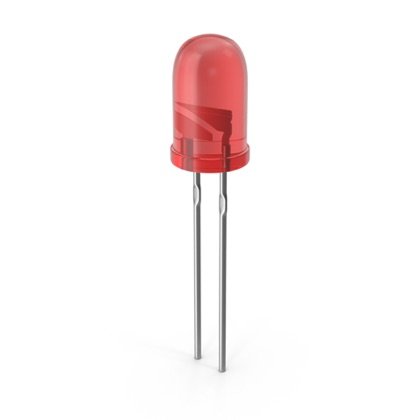 LED
LED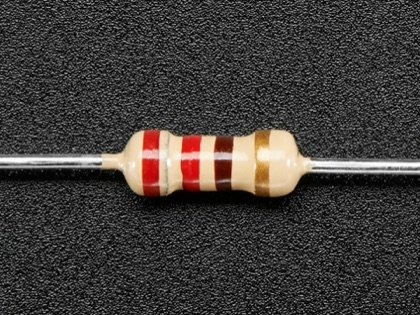 Resistor
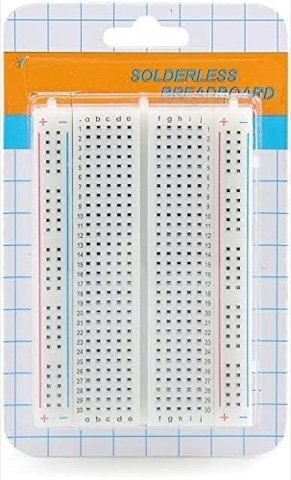 Breadboard
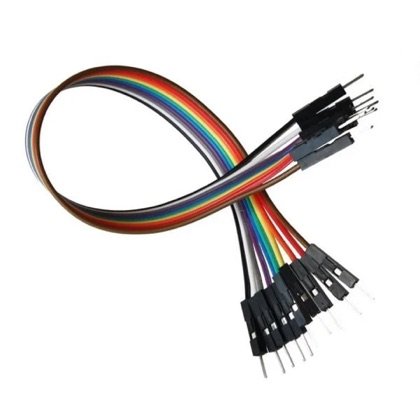 Wires
Wires🔌 Circuit diagram
Pin numbers follow the Kod2Kids books. You can use other pins, just change the same numbers in the code.
🎮 Play with this experiment⚙️ How does it work?
The Nano checks the sensor all the time. The program says: if something is detected, turn the LED on; otherwise turn it off. The board checks hundreds of times each second, so the reaction feels instant.
🌍 Where is this used in real life?
- Touchless taps and hand dryers in public toilets.
- Escalators that start when someone steps near.
- Staircase lights that turn on as you walk.
💡 What could YOU invent with it?
Build a “cupboard light” that turns on as soon as you open the door, helpful for finding clothes in the dark. It could especially help elders who find it hard to look for a switch.
🧪 Try this!
At what distance does your light turn on? Can you adjust the sensor knob to change this distance?
🎯 हम क्या बना रहे हैं?
हम आईआर सेंसर और एलईडी जोड़ते हैं ताकि हाथ पास आने पर एलईडी जले और दूर जाने पर बुझ जाए। जादू जैसा लगता है पर सिर्फ कोड है!
अरुडिनो नैनोआईआर सेंसरएलईडीरेसिस्टरब्रेडबोर्डतार🔌 सर्किट डायग्राम
पिन नंबर Kod2Kids की किताबों के हिसाब से हैं। आप दूसरे पिन भी लगा सकते हो, बस कोड में वही नंबर बदल दो।
🎮 इस एक्सपेरिमेंट के साथ खेलो⚙️ ये कैसे काम करता है?
नैनो हर समय सेंसर देखता रहता है। प्रोग्राम कहता है: अगर कुछ पहचाना, तो एलईडी जलाओ; वरना बुझाओ। बोर्ड एक सेकंड में सैकड़ों बार जाँचता है, इसलिए प्रतिक्रिया तुरंत लगती है।
🌍 असली ज़िंदगी में ये कहाँ काम आता है?
- सार्वजनिक शौचालयों में बिना छुए चलने वाले नल और हैंड-ड्रायर।
- पास आते ही शुरू होने वाले एस्केलेटर।
- चलते ही जल जाने वाली सीढ़ियों की बत्तियाँ।
💡 इससे आप क्या नया बना सकते हो?
“अलमारी की लाइट” बनाओ जो दरवाज़ा खुलते ही जल उठे, अँधेरे में कपड़े ढूँढने के लिए बढ़िया। ख़ासकर उन बुज़ुर्गों के काम की जिन्हें स्विच ढूँढना मुश्किल लगता है।
🧪 खुद करके देखो!
आपकी बत्ती कितनी दूरी पर जलती है? क्या सेंसर के नॉब से ये दूरी बदल सकते हो?
अरुडिनो नैनो कोडिंग और इलेक्ट्रॉनिक्स किट
Get the kit / किट खरीदें →
