
Your very first circuit: a battery, a resistor and a glowing LED!
आपका पहला सर्किट: एक बैटरी, एक रेसिस्टर और जगमगाती एलईडी!
🎯 What are we building?
We connect a coin cell, a resistor and an LED in a loop so the LED glows. This is called a closed circuit, and every electronic gadget you have seen starts with this idea.
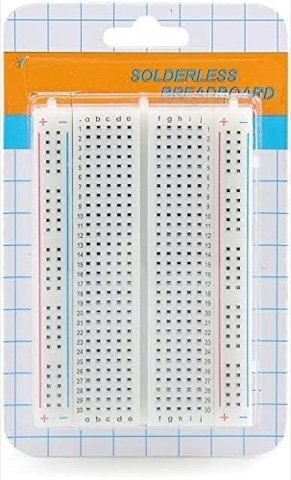 Breadboard
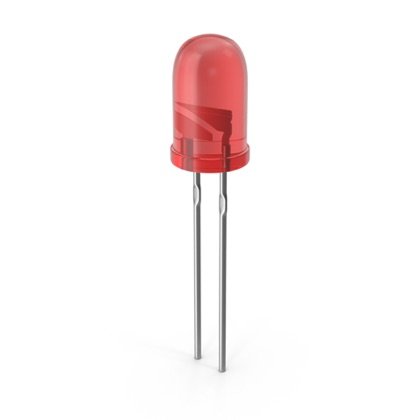 LED
LED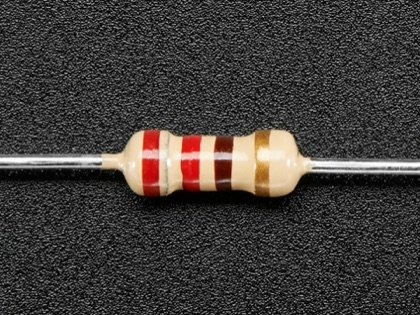 Resistor
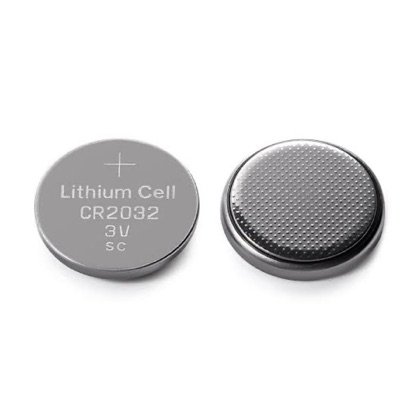 Coin Cell
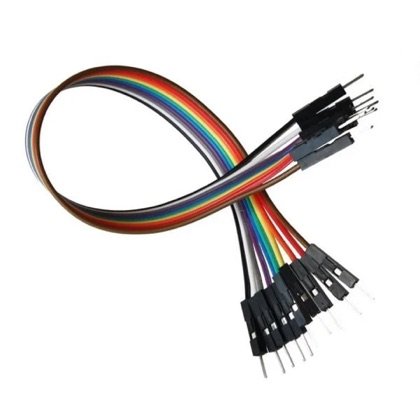 Wires
Wires🔌 Circuit diagram
Wire it just like this on your breadboard. The coin cell pushes, the resistor protects, the LED glows.
📘 Full step-by-step build with photos: Class 3 book, Lab 1 (Simple LED Circuit).
🎮 Play with this experiment⚙️ How does it work?
The battery pushes tiny electric particles around the loop. They flow through the resistor, which keeps them gentle, and then through the LED, which turns that flow into light. If the loop breaks anywhere, the light goes off.
🌍 Where is this used in real life?
- Torches and phone flashlights use exactly this loop.
- The tiny red light on your TV remote or charger is an LED circuit.
- Bicycle blinkers and school-bag safety lights run on small batteries just like this.
💡 What could YOU invent with it?
Build a glow-in-the-dark name plate for your room door, or a tiny night light for your little brother or sister who is scared of the dark. A small light that runs for weeks on one coin cell can make bedtime happier for many children.
🧪 Try this!
What happens if you touch the LED legs to the battery the other way round? Guess first, then test it safely!
🎯 हम क्या बना रहे हैं?
हम कॉइन सेल, रेसिस्टर और एलईडी को एक घेरे में जोड़ते हैं ताकि एलईडी जल उठे। इसे बंद सर्किट कहते हैं, और आपने जो भी इलेक्ट्रॉनिक चीज़ देखी है, वो इसी सोच से शुरू होती है।
ब्रेडबोर्डएलईडीरेसिस्टरकॉइन सेलतार🔌 सर्किट डायग्राम
अपने ब्रेडबोर्ड पर बिल्कुल ऐसे जोड़ो। कॉइन सेल धकेलती है, रेसिस्टर बचाता है, एलईडी जलती है।
📘 फोटो के साथ पूरा स्टेप-बाय-स्टेप निर्माण: क्लास 3 की किताब, लैब 1 (सिंपल एलईडी सर्किट)।
🎮 इस एक्सपेरिमेंट के साथ खेलो⚙️ ये कैसे काम करता है?
बैटरी बिजली के नन्हे कणों को घेरे में धकेलती है। वे रेसिस्टर से गुज़रते हैं जो उन्हें धीमा और सुरक्षित रखता है, फिर एलईडी से, जो उस बहाव को रोशनी में बदल देती है। घेरा कहीं भी टूटे तो रोशनी बुझ जाती है।
🌍 असली ज़िंदगी में ये कहाँ काम आता है?
- टॉर्च और फोन की फ्लैशलाइट बिल्कुल इसी घेरे से चलती हैं।
- टीवी रिमोट या चार्जर की छोटी लाल बत्ती एलईडी सर्किट ही है।
- साइकिल की ब्लिंकर और स्कूल बैग की सेफ्टी लाइट भी ऐसी ही छोटी बैटरी से चलती हैं।
💡 इससे आप क्या नया बना सकते हो?
अपने कमरे के दरवाज़े के लिए अँधेरे में चमकने वाली नेम-प्लेट बनाओ, या डरने वाले छोटे भाई-बहन के लिए एक नन्हा नाइट-लैम्प। एक कॉइन सेल पर हफ्तों चलने वाली छोटी लाइट कई बच्चों की रात को आसान बना सकती है।
🧪 खुद करके देखो!
अगर एलईडी के पैर बैटरी से उल्टे जोड़ दो तो क्या होगा? पहले अंदाज़ा लगाओ, फिर सावधानी से जाँचो!
इलेक्ट्रॉनिक्स और सोलर स्टार्टर किट
Get the kit / किट खरीदें →
