
Tell the board exactly when to switch a light on and off.
बोर्ड को बताओ कि बत्ती कब जलानी है और कब बुझानी।
🎯 What are we building?
We write a program with separate ON and OFF steps and learn to control the LED with full precision. Where the blink ran forever, here we decide the timing ourselves.
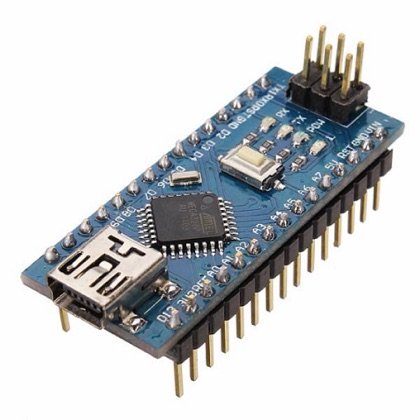 Arduino Nano
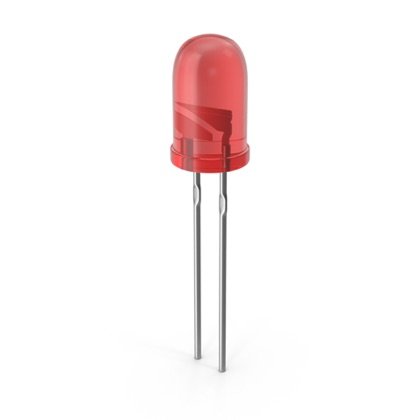 LED
LED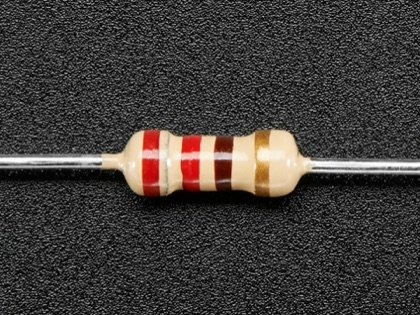 Resistor
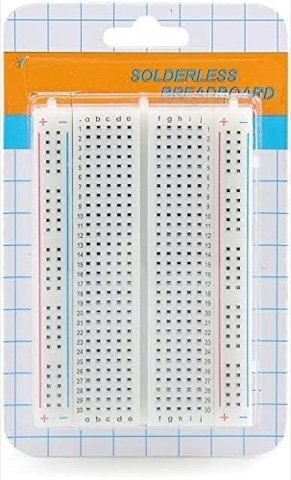 Breadboard
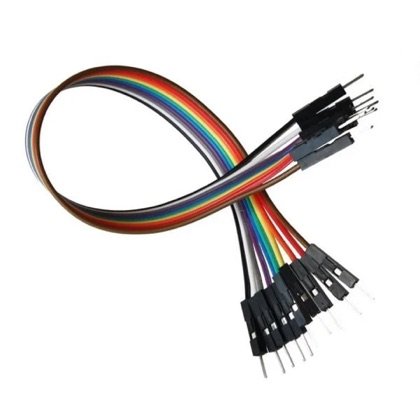 Wires
Wires🔌 Circuit diagram
Pin numbers follow the Kod2Kids books. You can use other pins, just change the same numbers in the code.
🎮 Play with this experiment⚙️ How does it work?
The board reads the code line by line from top to bottom. A line that says digitalWrite HIGH turns the pin on, and LOW turns it off. The order of lines is the order of actions, so we can design any ON/OFF story.
🌍 Where is this used in real life?
- Classroom bells switch on and off at set times.
- Garden sprinklers start and stop on a timer.
- Shop signboards switch on automatically in the evening.
💡 What could YOU invent with it?
Create a “study timer light”: it stays on for 25 minutes of study and goes off for a 5 minute break. It could help students focus better and take rests on time.
🧪 Try this!
Write a story with your LED: ON for 2 seconds, OFF for 1 second, ON for 3 seconds. Does the board follow it exactly?
🎯 हम क्या बना रहे हैं?
हम ऑन और ऑफ के अलग-अलग कदमों वाला प्रोग्राम लिखते हैं और एलईडी को पूरी सटीकता से चलाना सीखते हैं। ब्लिंक हमेशा चलता था, यहाँ समय हम ख़ुद तय करते हैं।
अरुडिनो नैनोएलईडीरेसिस्टरब्रेडबोर्डतार🔌 सर्किट डायग्राम
पिन नंबर Kod2Kids की किताबों के हिसाब से हैं। आप दूसरे पिन भी लगा सकते हो, बस कोड में वही नंबर बदल दो।
🎮 इस एक्सपेरिमेंट के साथ खेलो⚙️ ये कैसे काम करता है?
बोर्ड कोड को ऊपर से नीचे लाइन-दर-लाइन पढ़ता है। digitalWrite HIGH वाली लाइन पिन चालू करती है और LOW बंद। लाइनों का क्रम ही कामों का क्रम है, इसलिए हम कोई भी ऑन/ऑफ कहानी बना सकते हैं।
🌍 असली ज़िंदगी में ये कहाँ काम आता है?
- क्लास की घंटी तय समय पर बजती और बंद होती है।
- बगीचे के स्प्रिंकलर टाइमर से शुरू और बंद होते हैं।
- दुकानों के साइनबोर्ड शाम को अपने आप जल उठते हैं।
💡 इससे आप क्या नया बना सकते हो?
“पढ़ाई का टाइमर लाइट” बनाओ: 25 मिनट की पढ़ाई तक जलती रहे और 5 मिनट के ब्रेक के लिए बुझ जाए। इससे विद्यार्थी ज़्यादा ध्यान लगा सकेंगे और समय पर आराम भी कर पाएँगे।
🧪 खुद करके देखो!
अपनी एलईडी से कहानी लिखो: 2 सेकंड ON, 1 सेकंड OFF, 3 सेकंड ON। क्या बोर्ड ठीक वैसा ही करता है?
अरुडिनो नैनो कोडिंग और इलेक्ट्रॉनिक्स किट
Get the kit / किट खरीदें →
