
Make an LED blink by writing code, the “Hello World” of electronics.
कोड लिखकर एलईडी टिमटिमाओ, इलेक्ट्रॉनिक्स का “हेलो वर्ल्ड”।
🎯 What are we building?
We connect an LED and resistor to the Nano and write a program that turns the LED on, waits, turns it off and waits again, forever.
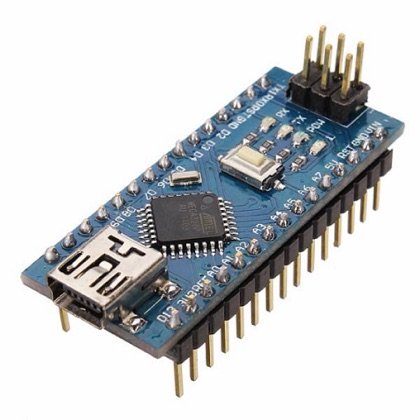 Arduino Nano
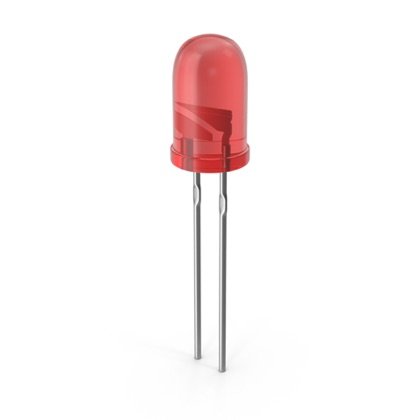 LED
LED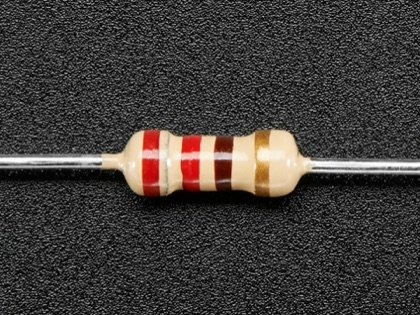 Resistor
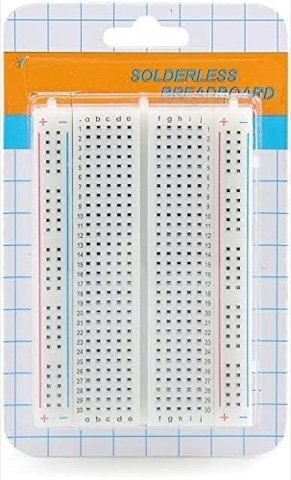 Breadboard
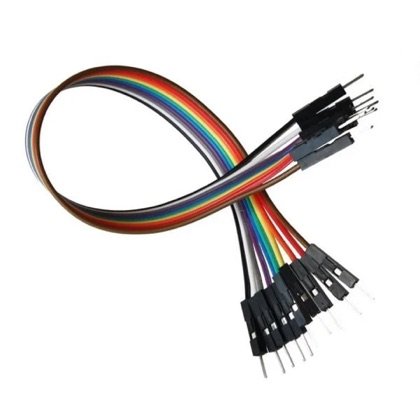 Wires
Wires🔌 Circuit diagram
Pin numbers follow the Kod2Kids books. You can use other pins, just change the same numbers in the code.
📘 Full step-by-step build with photos: Class 5 book, Lab 3 (LED Blink using Arduino).
🎮 Play with this experiment⚙️ How does it work?
A pin on the Nano gives power when the code says HIGH and stops when it says LOW. The delay command tells the board how long to wait. Repeating this on and off makes the blink.
🌍 Where is this used in real life?
- A blinking light on a router shows that it is working.
- Indicators on cars blink to tell others where we will turn.
- Lighthouses flash in patterns to guide ships safely.
💡 What could YOU invent with it?
Make a “pill-time blinker” for a grandparent: a light that blinks at the time to take medicine. It could help elders remember their medicines on time without anyone reminding them.
🧪 Try this!
Change the number in delay and see what happens. What number makes it blink very slowly? Very fast?
🎯 हम क्या बना रहे हैं?
हम एलईडी और रेसिस्टर को नैनो से जोड़ते हैं और ऐसा प्रोग्राम लिखते हैं जो एलईडी जलाए, रुके, बुझाए और फिर रुके, हमेशा-हमेशा।
अरुडिनो नैनोएलईडीरेसिस्टरब्रेडबोर्डतार🔌 सर्किट डायग्राम
पिन नंबर Kod2Kids की किताबों के हिसाब से हैं। आप दूसरे पिन भी लगा सकते हो, बस कोड में वही नंबर बदल दो।
📘 फोटो के साथ पूरा स्टेप-बाय-स्टेप निर्माण: क्लास 5 की किताब, लैब 3 (अरुडिनो से एलईडी ब्लिंक)।
🎮 इस एक्सपेरिमेंट के साथ खेलो⚙️ ये कैसे काम करता है?
कोड में HIGH लिखने पर नैनो का पिन बिजली देता है और LOW लिखने पर बंद कर देता है। delay कमांड बताता है कि कितनी देर रुकना है। यही चालू-बंद बार-बार दोहराने से ब्लिंक बनता है।
🌍 असली ज़िंदगी में ये कहाँ काम आता है?
- राउटर की टिमटिमाती बत्ती बताती है कि वो चल रहा है।
- कार के इंडिकेटर टिमटिमाकर बताते हैं कि हम कहाँ मुड़ेंगे।
- लाइटहाउस जहाज़ों को सही रास्ता दिखाने के लिए पैटर्न में चमकते हैं।
💡 इससे आप क्या नया बना सकते हो?
दादा-दादी के लिए “दवा का समय ब्लिंकर” बनाओ: दवा लेने के समय टिमटिमाने वाली बत्ती। इससे बुज़ुर्ग बिना किसी के याद दिलाए अपनी दवाई समय पर याद रख सकते हैं।
🧪 खुद करके देखो!
delay का नंबर बदलकर देखो क्या होता है। कौन सा नंबर उसे बहुत धीमा टिमटिमाता है? और बहुत तेज़?
अरुडिनो नैनो कोडिंग और इलेक्ट्रॉनिक्स किट
Get the kit / किट खरीदें →
