How to Build an Ultrasonic Obstacle Avoider
Create your own ultrasonic obstacle avoider robot with this step-by-step guide, including materials, interactive instructions, video tutorials, troubleshooting tips, customization ideas, and a project gallery.
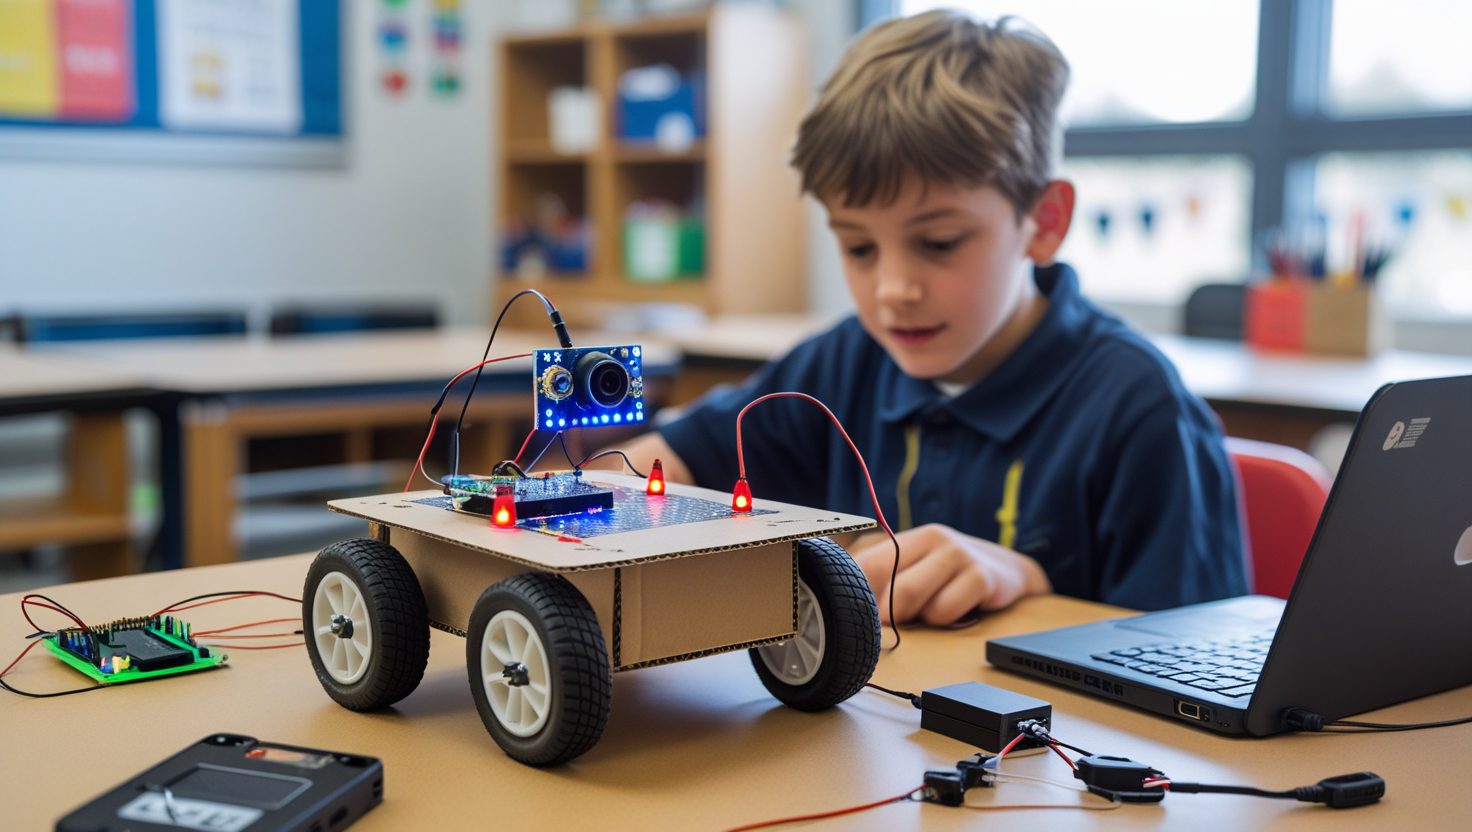
Project Outcome
By completing this project, you’ll build a fully functional ultrasonic obstacle avoider robot that detects obstacles using an ultrasonic sensor and navigates around them autonomously. Controlled by an Arduino, this project introduces robotics, sensor integration, and motor control.
- Build Skills: Master ultrasonic sensing, motor wiring, and Arduino programming.
- Customize: Add features like LED indicators, speed control, or sound alerts.
- Learn: Gain hands-on experience in robotics and embedded systems.
Perfect for beginners and hobbyists eager to dive into robotics!
What You'll Learn
Robot Assembly
Learn to assemble motors, sensors, and Arduino on a chassis.
Ultrasonic Sensing
Master distance measurement to detect obstacles.
Arduino Programming
Write code to control motors and process sensor data.
Problem-Solving
Debug sensor and motor issues for smooth navigation.
Robotics Concepts
Understand sensor-motor integration and autonomous logic.
Required Materials
Main controller
Obstacle detection
Status indicators
For LEDs
Connections
For prototyping
For warning or obstacle alerts
Controls DC motors
For robot movement
Robot body
Power supply
Video Tutorials
Overview of Ultrasonic Obstacle Avoider Build
Troubleshooting Tips
Robot Not Moving
Check motor connections, motor driver wiring, and ensure the battery pack is charged.
Ultrasonic Sensor Not Detecting
Verify sensor wiring, check for obstacles within range, and ensure correct pin assignments in code.
LEDs Not Lighting Up
Confirm LED polarity, resistor values, and correct Arduino pin assignments.
Erratic Robot Behavior
Adjust sensor thresholds in code and ensure no loose connections.
Customization Ideas
+Add LED Indicators
Use LEDs to indicate obstacle detection or robot status (e.g., green for clear, red for stop).

+Enable Speed Control
Adjust motor speed based on obstacle distance using PWM signals.
+Add Sound Alerts
Incorporate a buzzer to emit beeps when obstacles are detected.
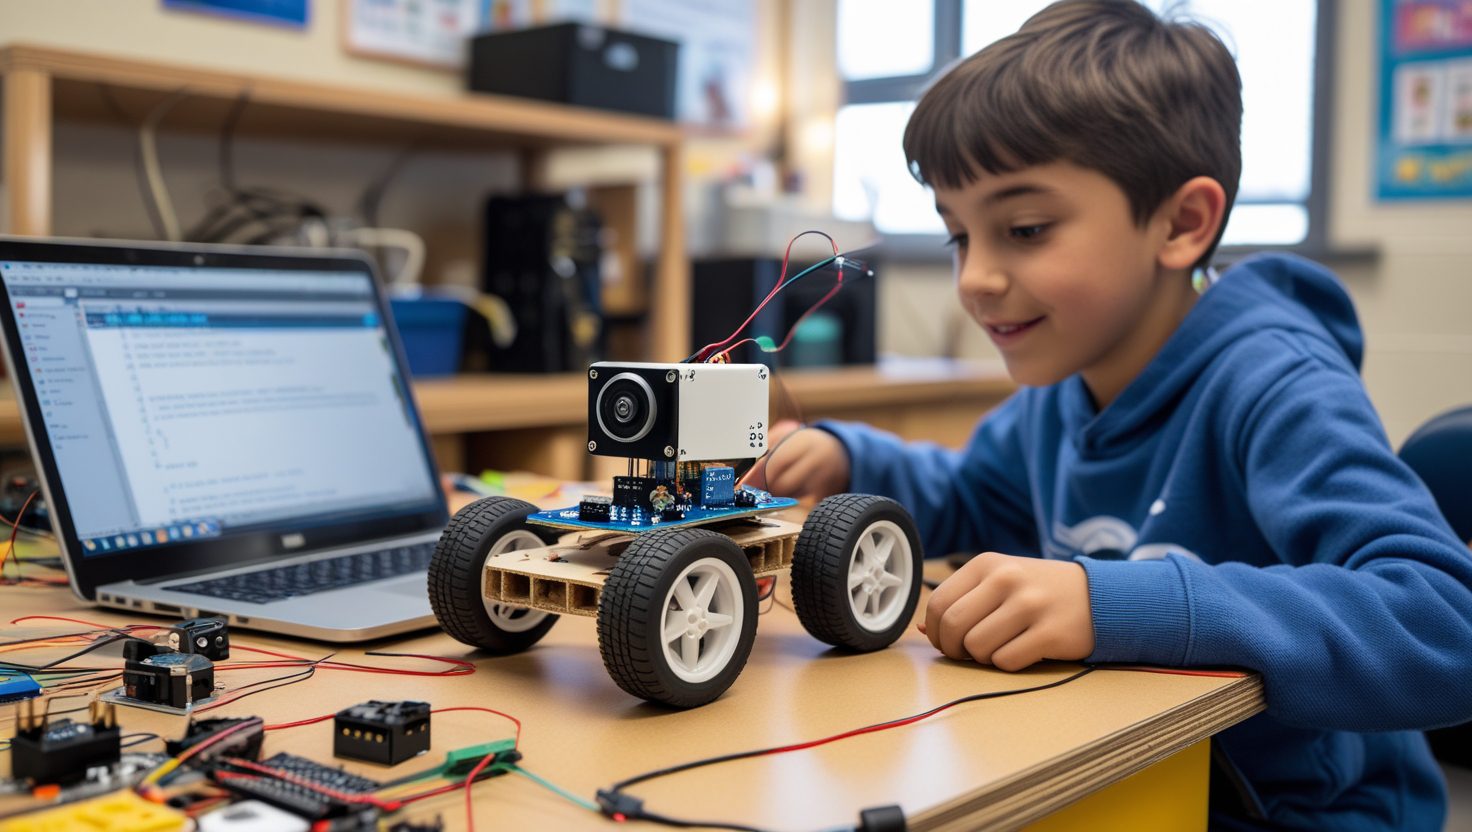
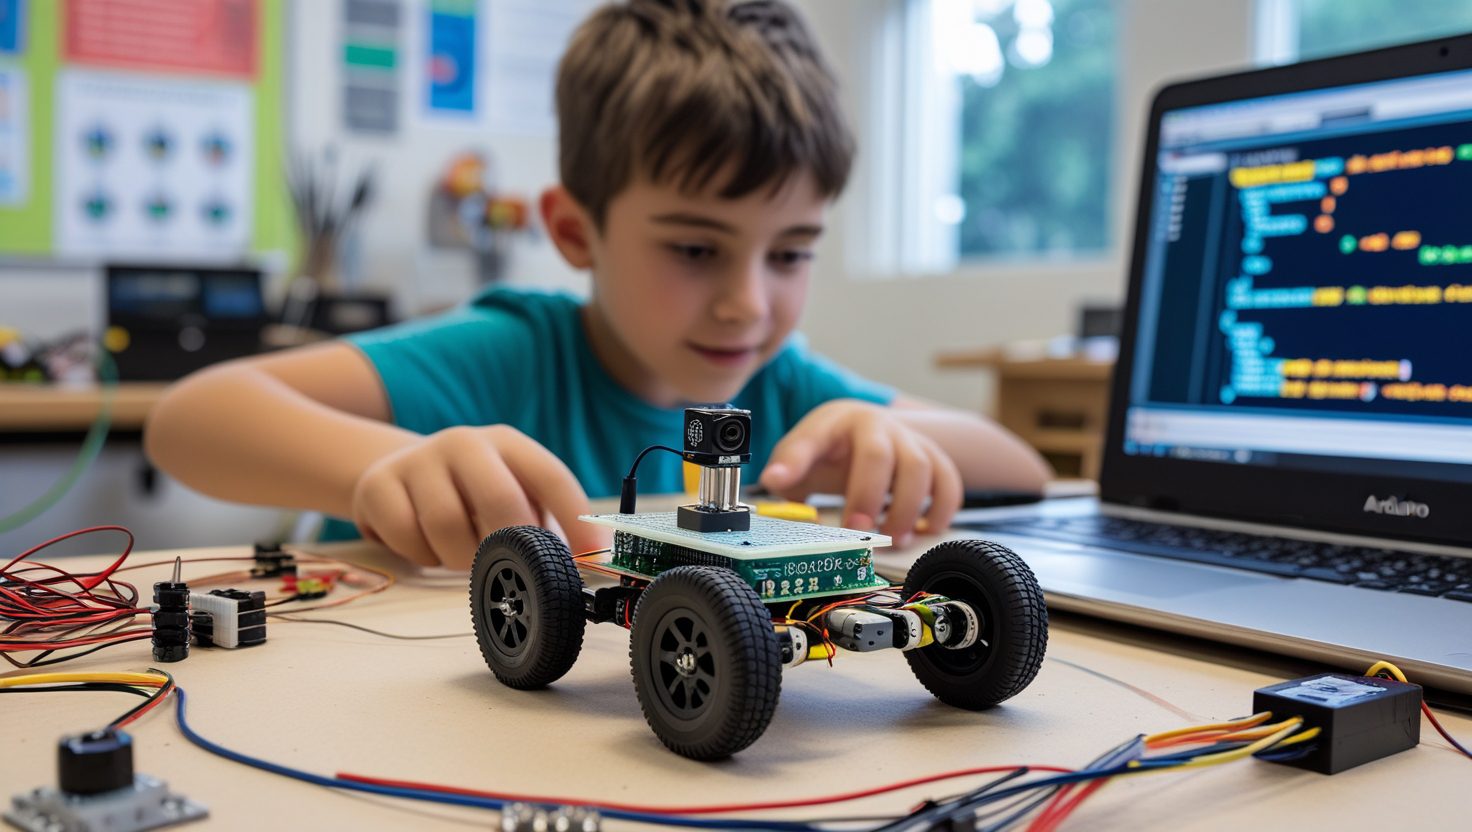
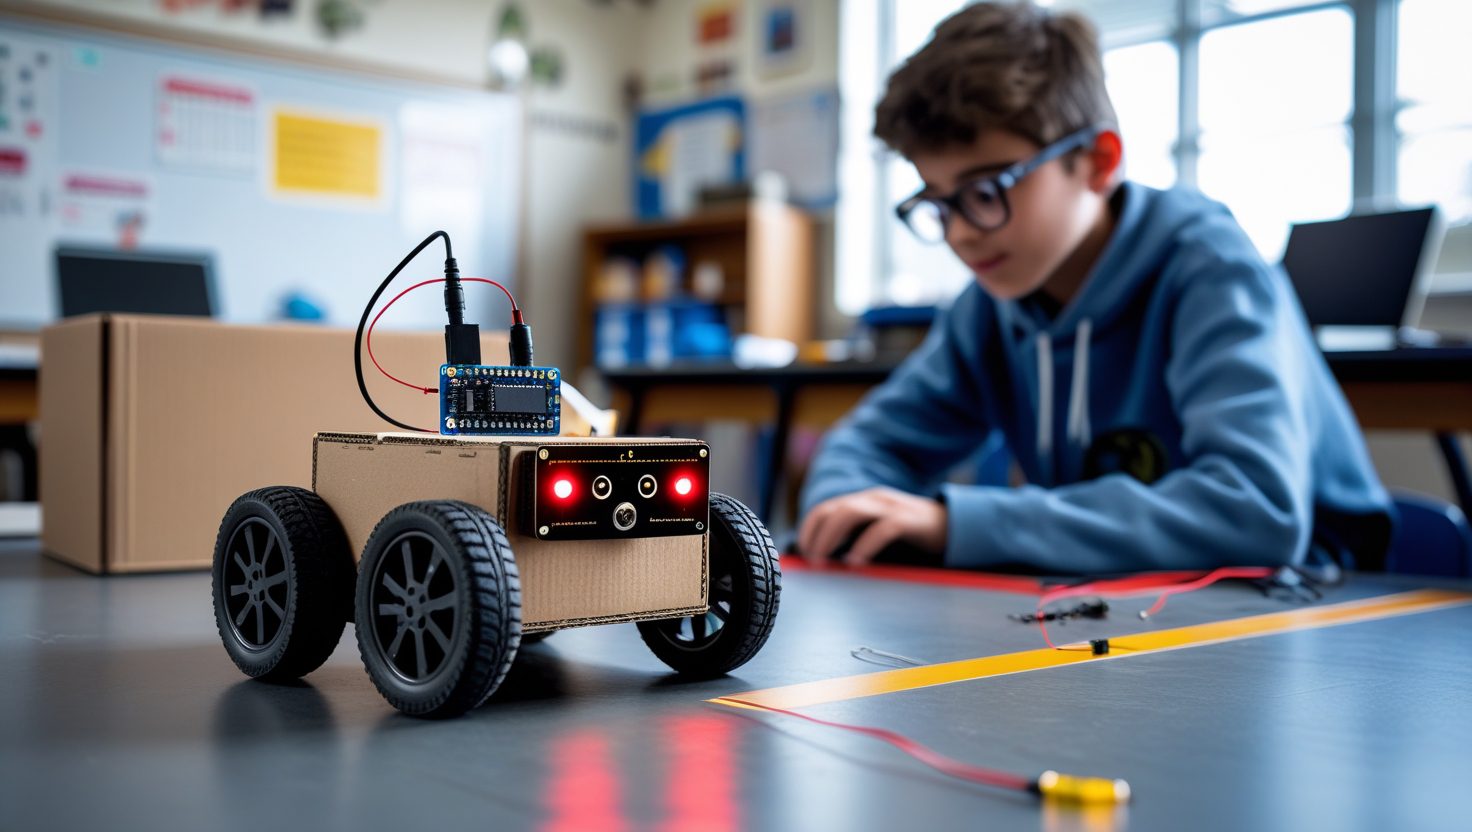
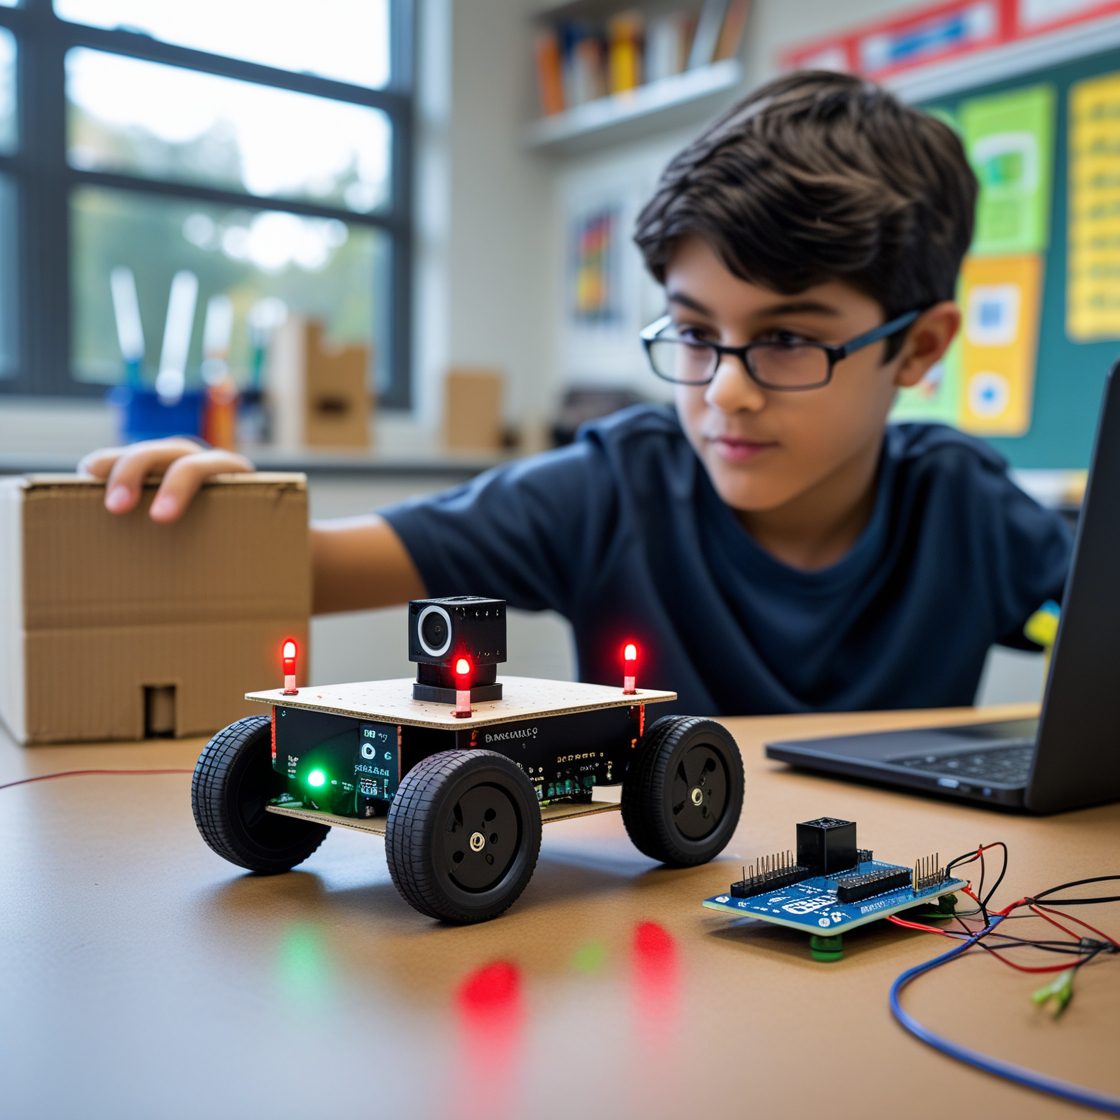
Project Gallery