How to Build a Puppet with Servo Head
Create an Arduino-controlled puppet with this step-by-step guide, using servo motors for animated movements and cardboard and fabric for the body. Includes materials, interactive instructions, video tutorials, troubleshooting tips, customization ideas, and a project gallery.
Project Outcome
By completing this project, you’ll build a puppet with servo motors and Arduino that animates movements like arm or head motion. This hands-on project teaches robotics, Arduino programming, and puppet crafting using simple materials.
- Build Skills: Master servo control and puppet assembly.
- Customize: Add sound effects, extra servos, or LED eyes.
- Learn: Gain experience in Arduino coding and robotics.
Perfect for beginners and young learners interested in robotics and creative design!
What You'll Learn
Servo Control
Learn to animate puppet movements.
Arduino Coding
Program servos with Arduino.
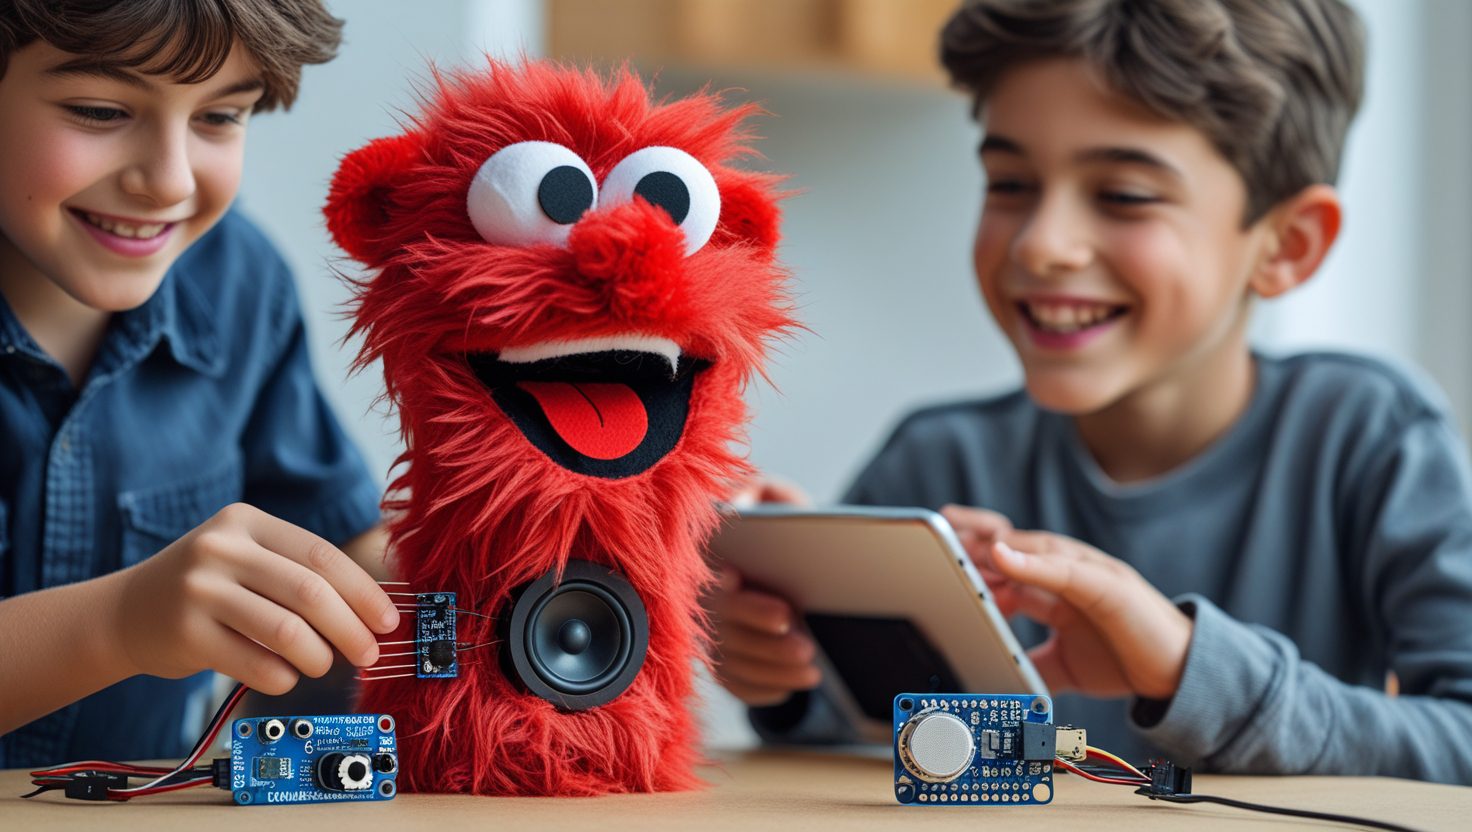
Puppet Crafting
Build a puppet with cardboard and fabric.
Problem-Solving
Fix servo or code issues.
Creative Design
Add unique puppet features.
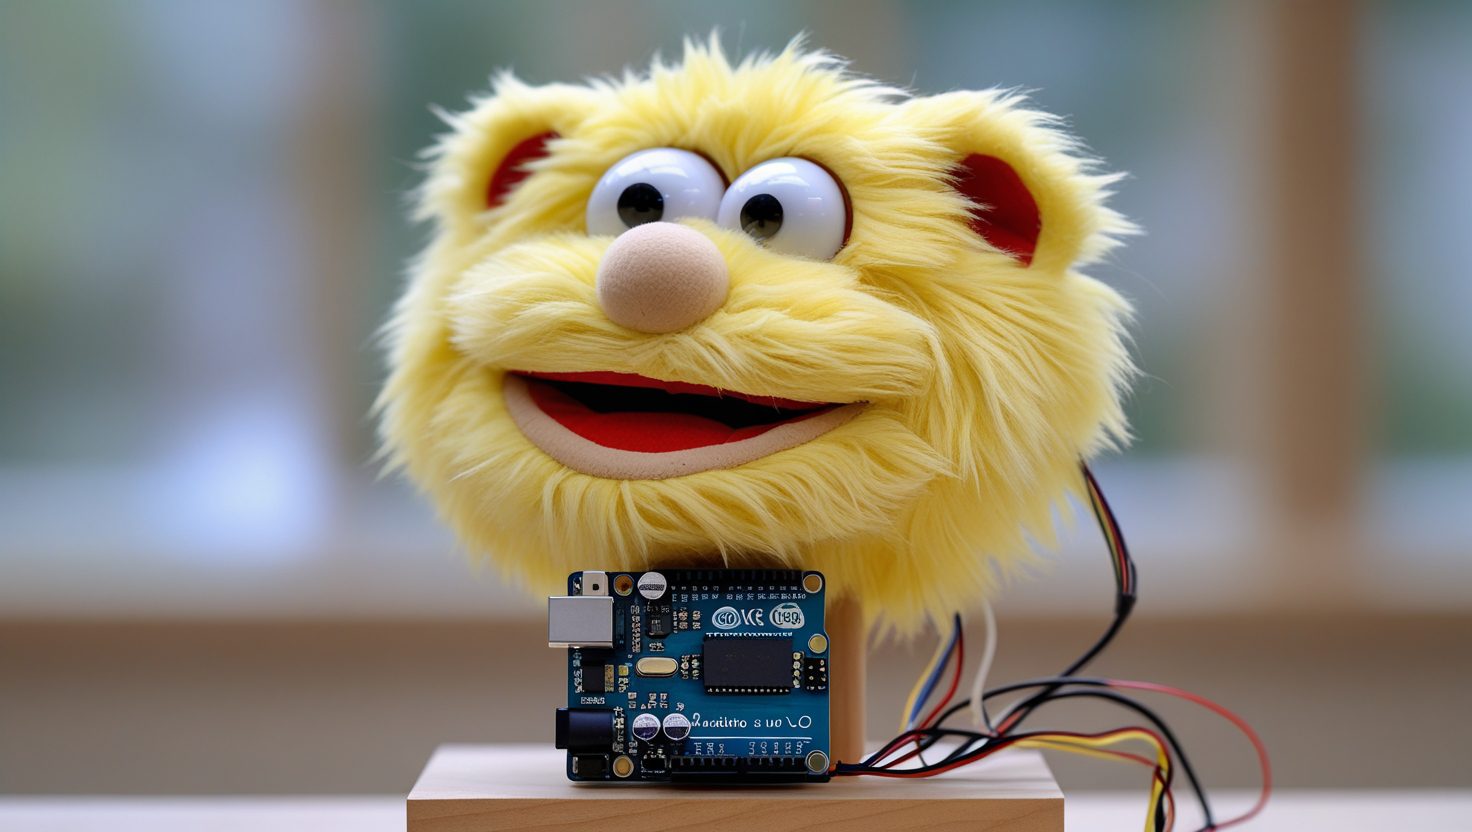
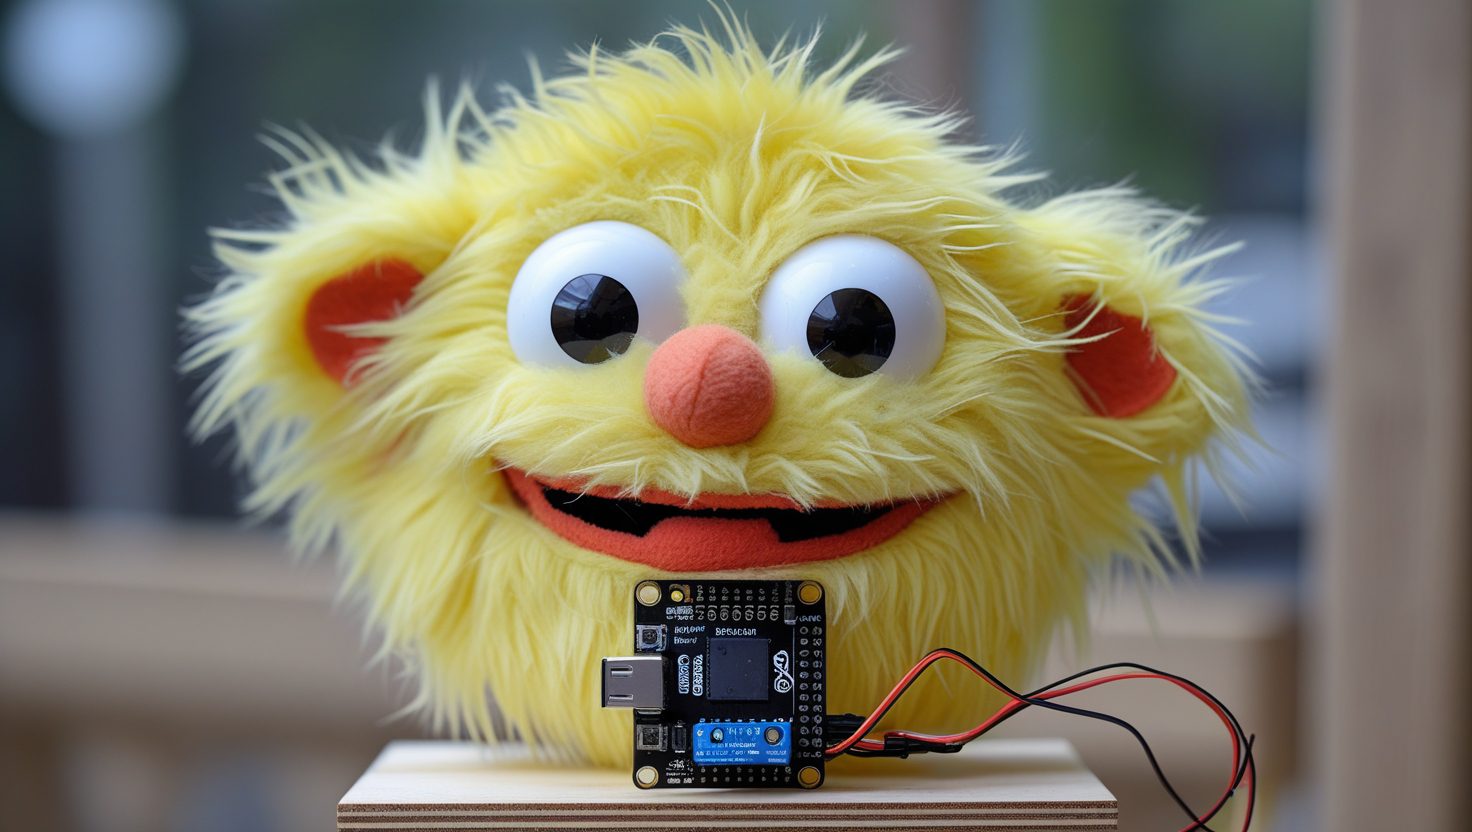
Required Materials
Lightweight sheet
Small servos
Microcontroller
Wires
Craft glue
Felt or cloth
9V battery
Video Tutorials
Overview of Arduino Puppet Build and Programming
Troubleshooting Tips
Servos Not Moving
Check servo connections, ensure correct Arduino pins, and verify code syntax.
Arduino Not Responding
Confirm USB connection, check for code errors, and ensure the correct board is selected.
Puppet Joints Loose
Reinforce joints with glue or additional cardboard, and secure servos tightly.
Battery Draining Quickly
Check for short circuits, ensure servos are not stalled, and use a fresh battery.
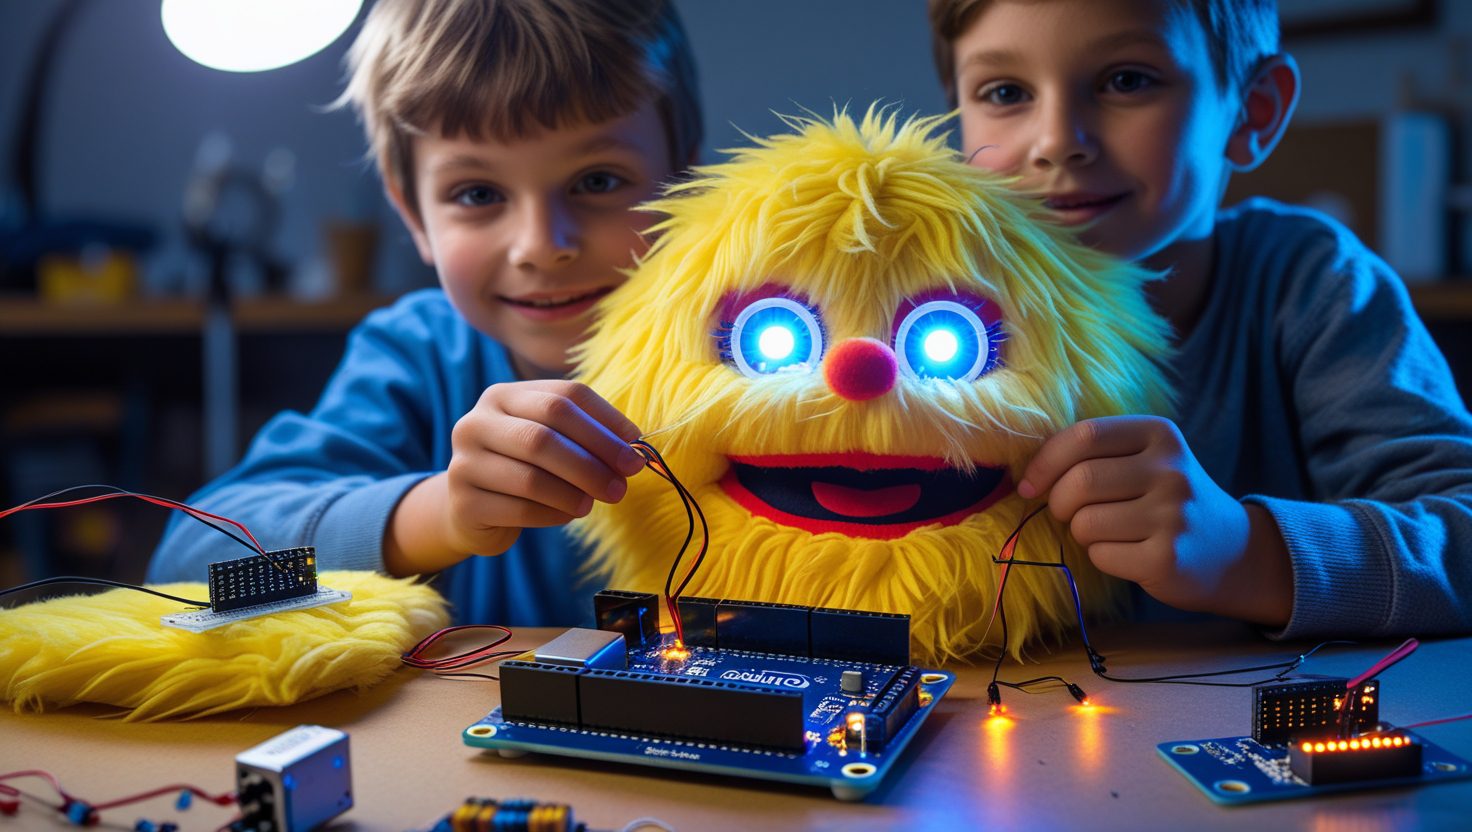
Customization Ideas
+Sound Effects
Add a buzzer to create sound effects like a voice or music.
+Extra Servos
Incorporate additional servos for leg or mouth movements.

+LED Eyes
Add LEDs to create glowing eyes for the puppet.
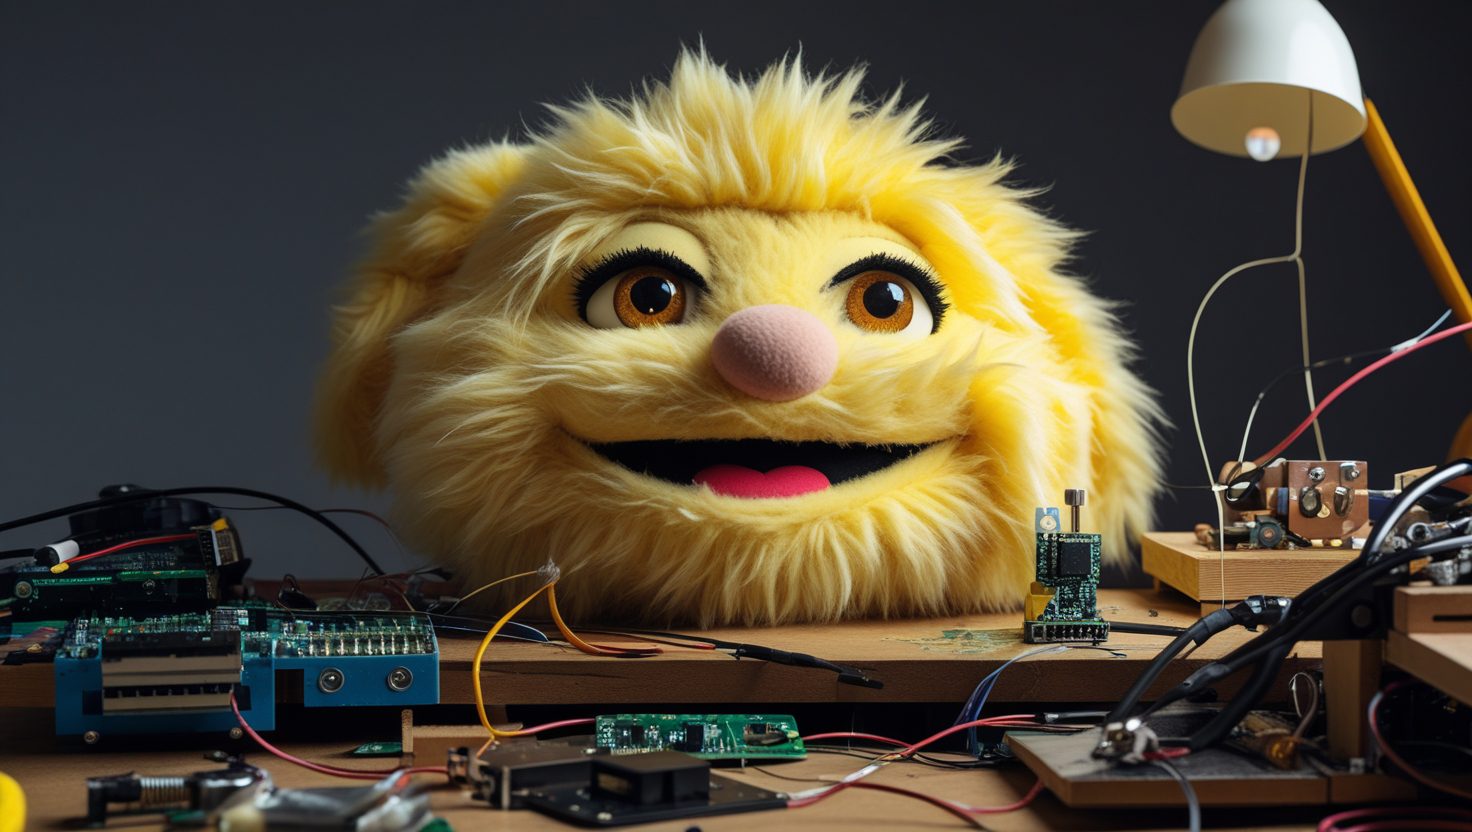
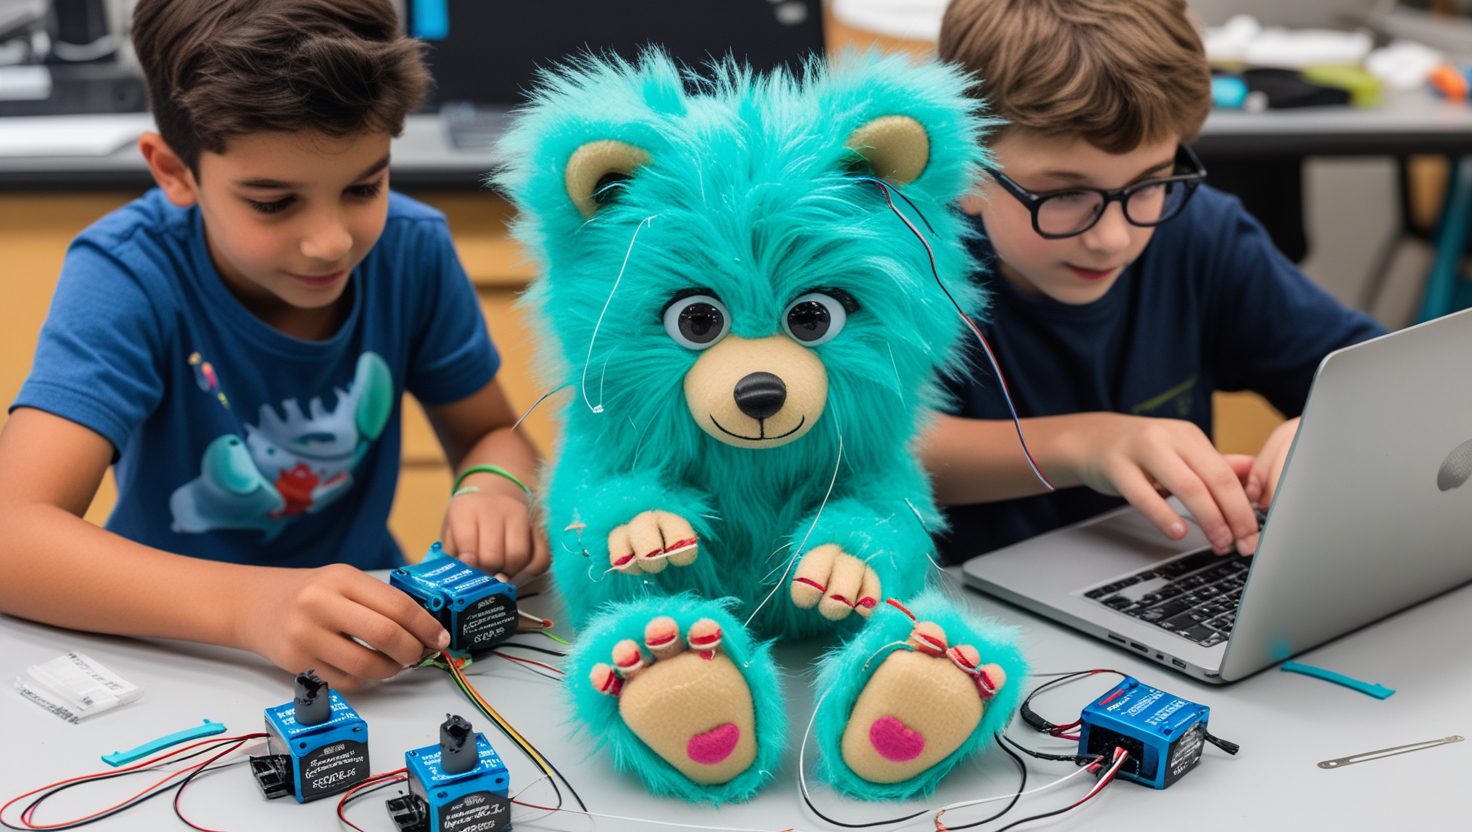
Project Gallery