How to Build a Paper Circuit Board
Create a glowing paper circuit board with this step-by-step guide, using simple materials like cardstock, copper tape, and LEDs. Includes materials, interactive instructions, video tutorials, troubleshooting tips, customization ideas, and a project gallery.
Project Outcome
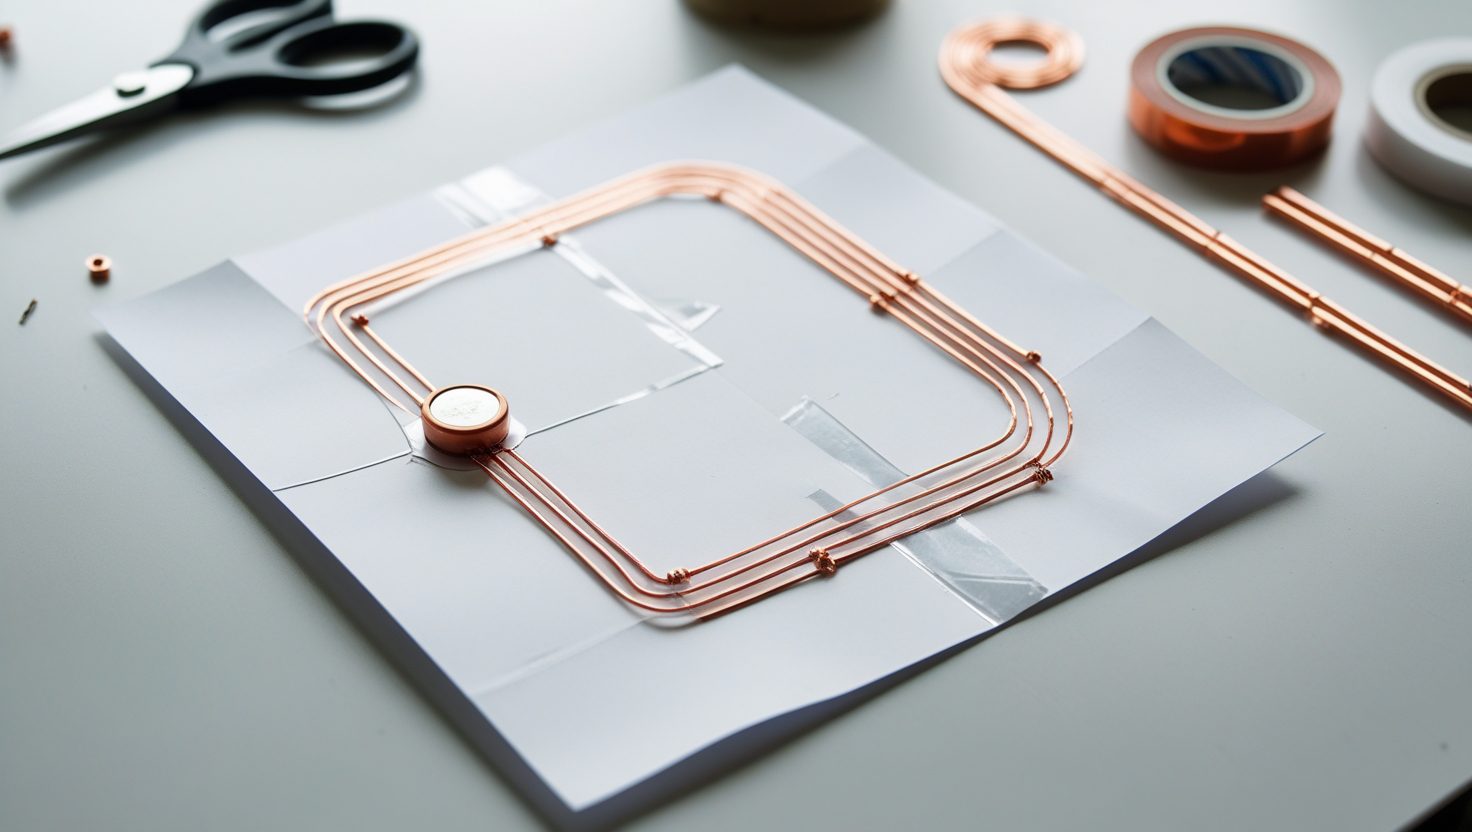
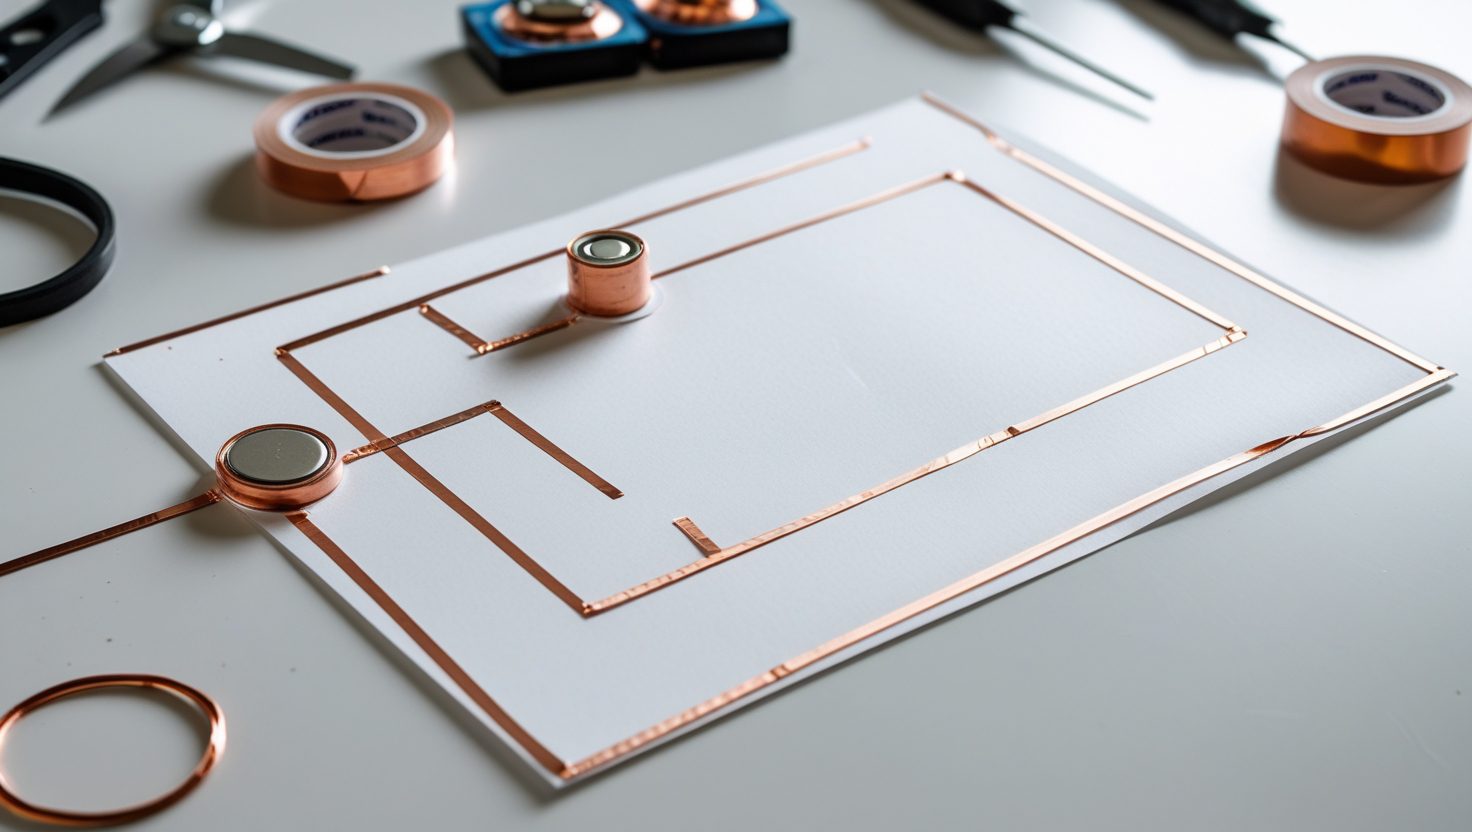
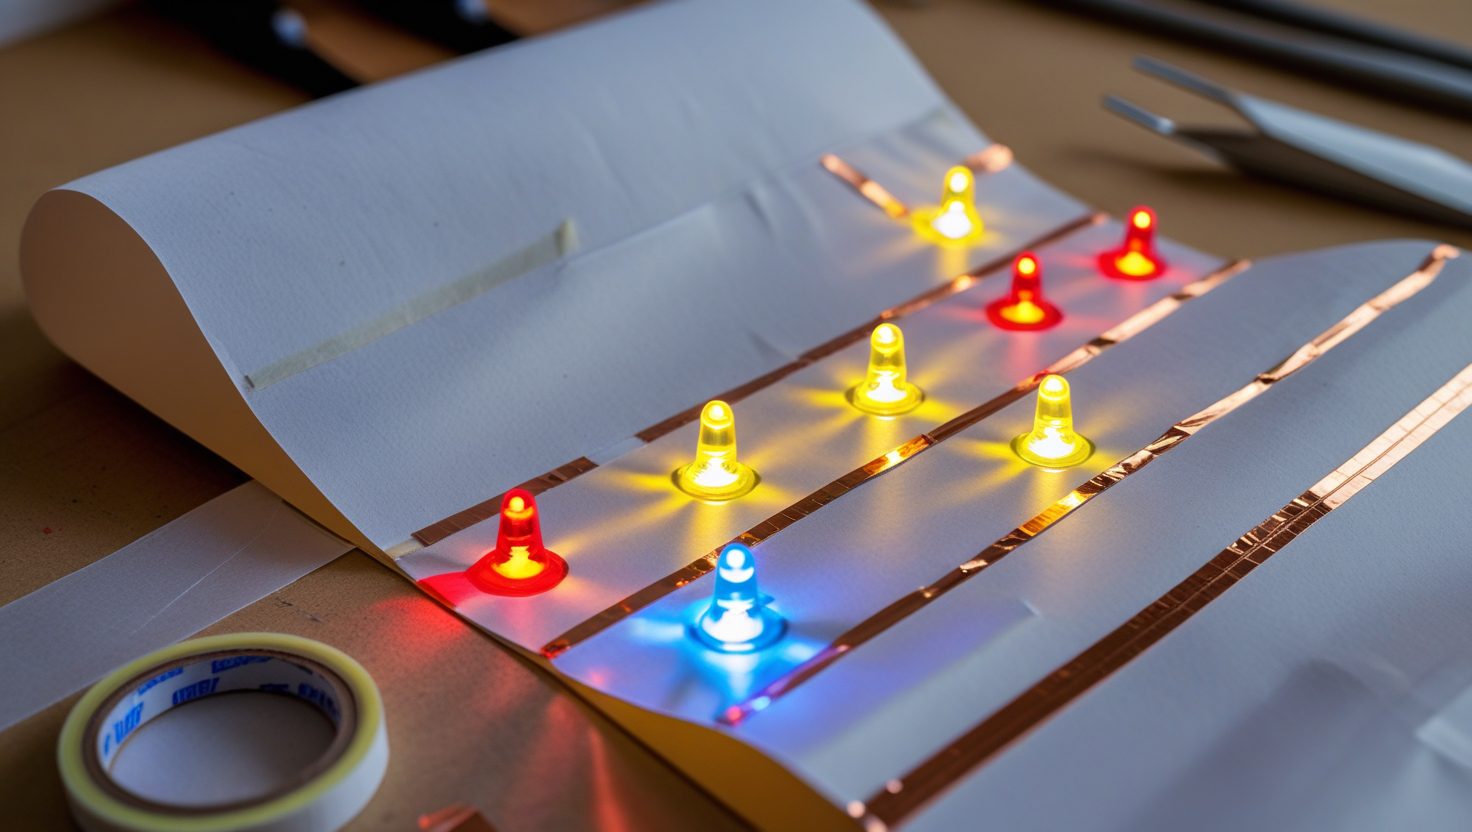
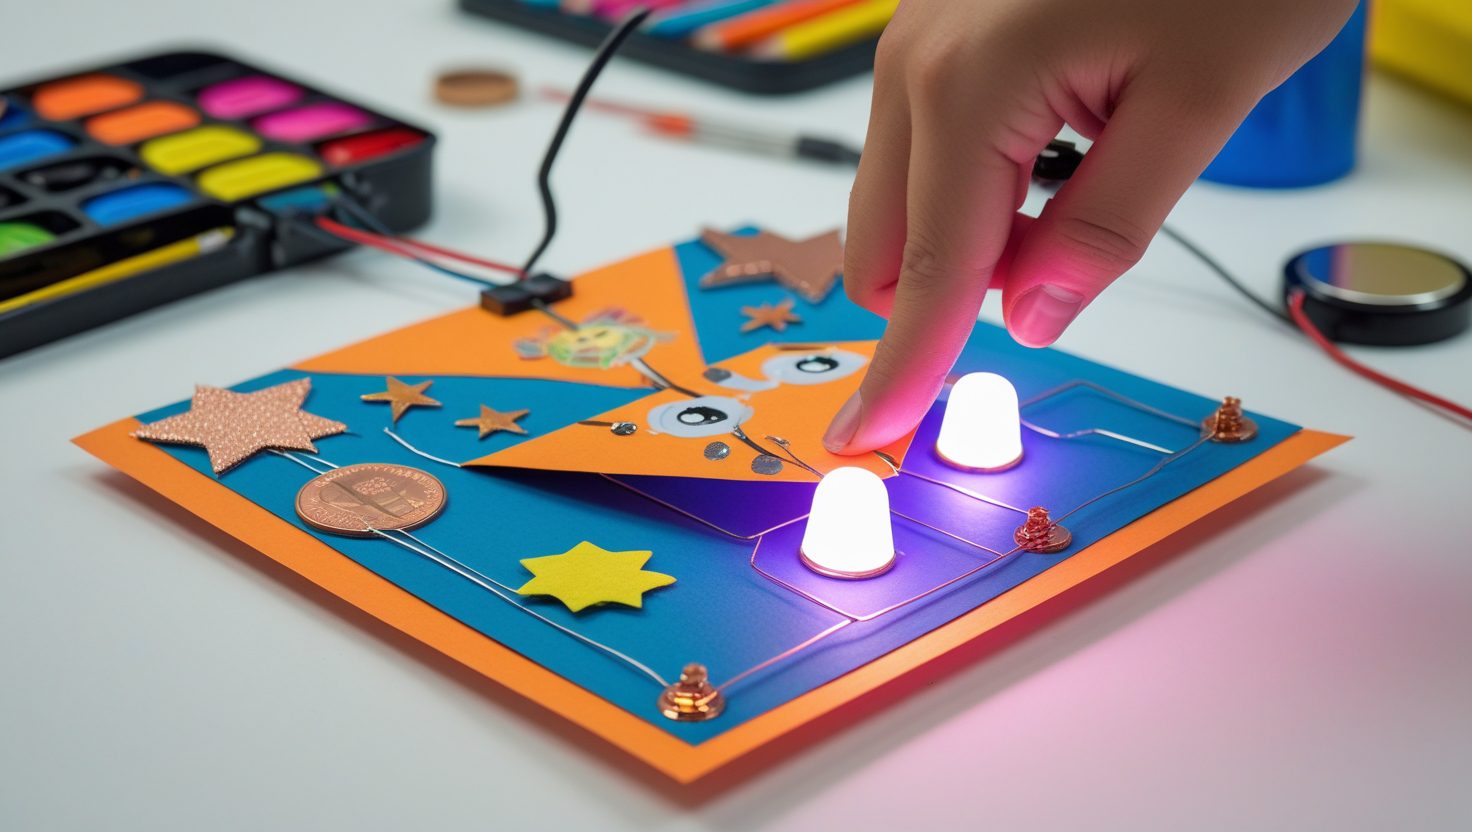
By completing this project, you’ll build a paper circuit board that lights up LEDs using copper tape and a coin cell battery. This hands-on project teaches basic circuit design, crafting, and creativity with simple materials.
- Build Skills: Master circuit assembly and paper crafting.
- Customize: Add decorative designs, more LEDs, or a paper switch.
- Learn: Gain experience in conductivity and circuit basics.
Perfect for beginners and young learners interested in electronics and art!

What You'll Learn
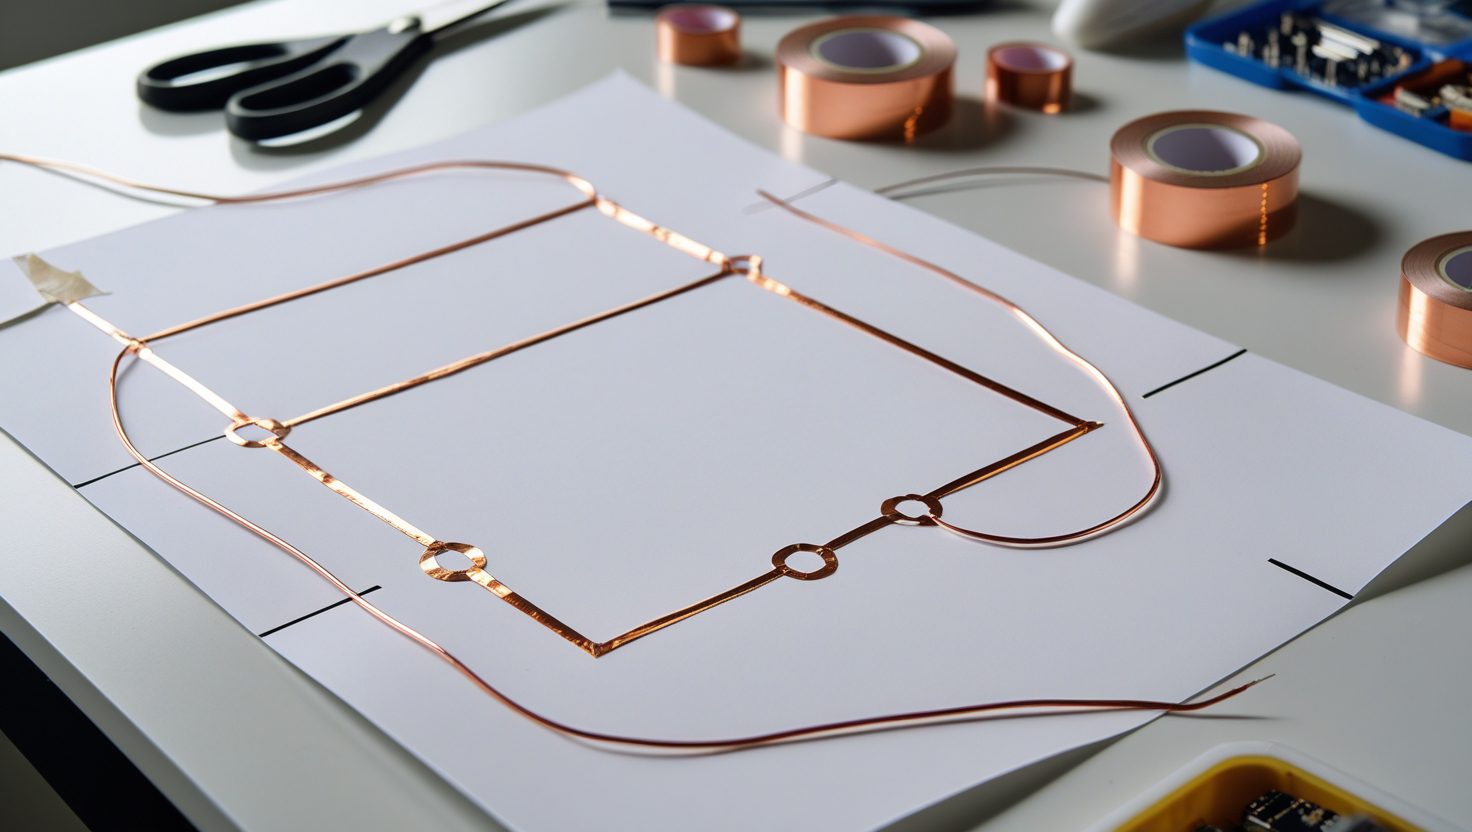
Circuit Assembly
Learn to create conductive paths.
Paper Crafting
Design circuits on cardstock.
Basic Electronics
Understand LEDs and batteries.
Problem-Solving
Fix circuit connectivity issues.
Creative Design
Add artistic circuit patterns.
Required Materials
Thick paper
Conductive tape
Small LEDs
CR2032 battery
Clear tape
Craft scissors
Video Tutorials
Overview of Paper Circuit Board Build
Troubleshooting Tips
LEDs Not Lighting
Check LED polarity, ensure copper tape is continuous, and verify battery charge.
Copper Tape Not Conducting
Ensure tape is flat and overlaps at corners, and clean any adhesive residue.
Battery Not Working
Check battery orientation, ensure secure contact with tape, and replace if drained.
Cardstock Tearing
Use thicker cardstock or reinforce with tape, and cut carefully with scissors.
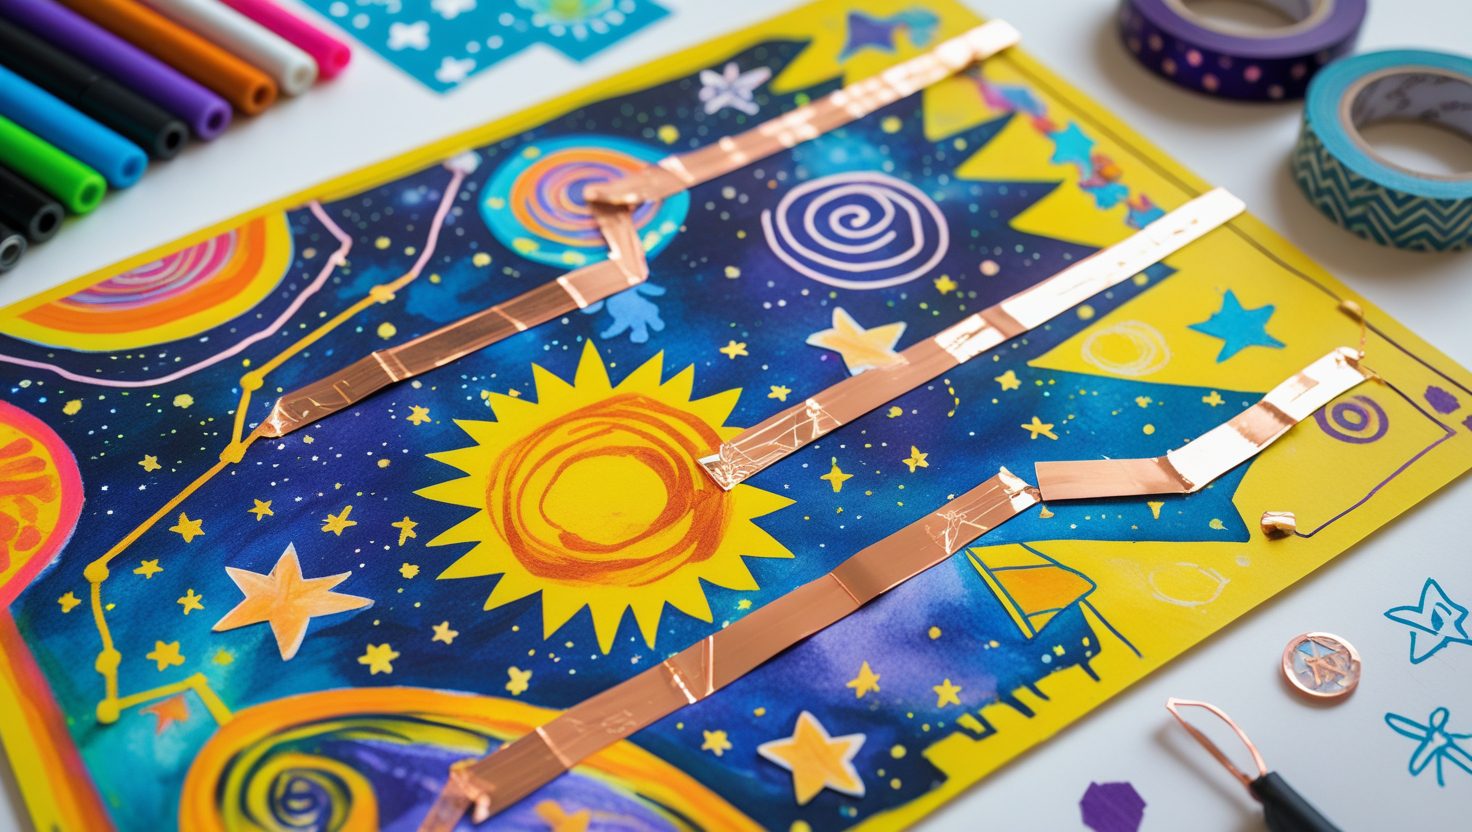
Customization Ideas
+Decorative Patterns
Add colorful designs or drawings around the circuit for a unique look.
+Multiple LEDs
Incorporate additional LEDs in parallel for a brighter display.
+Paper Switch
Create a foldable paper flap to act as an on/off switch.
Project Gallery