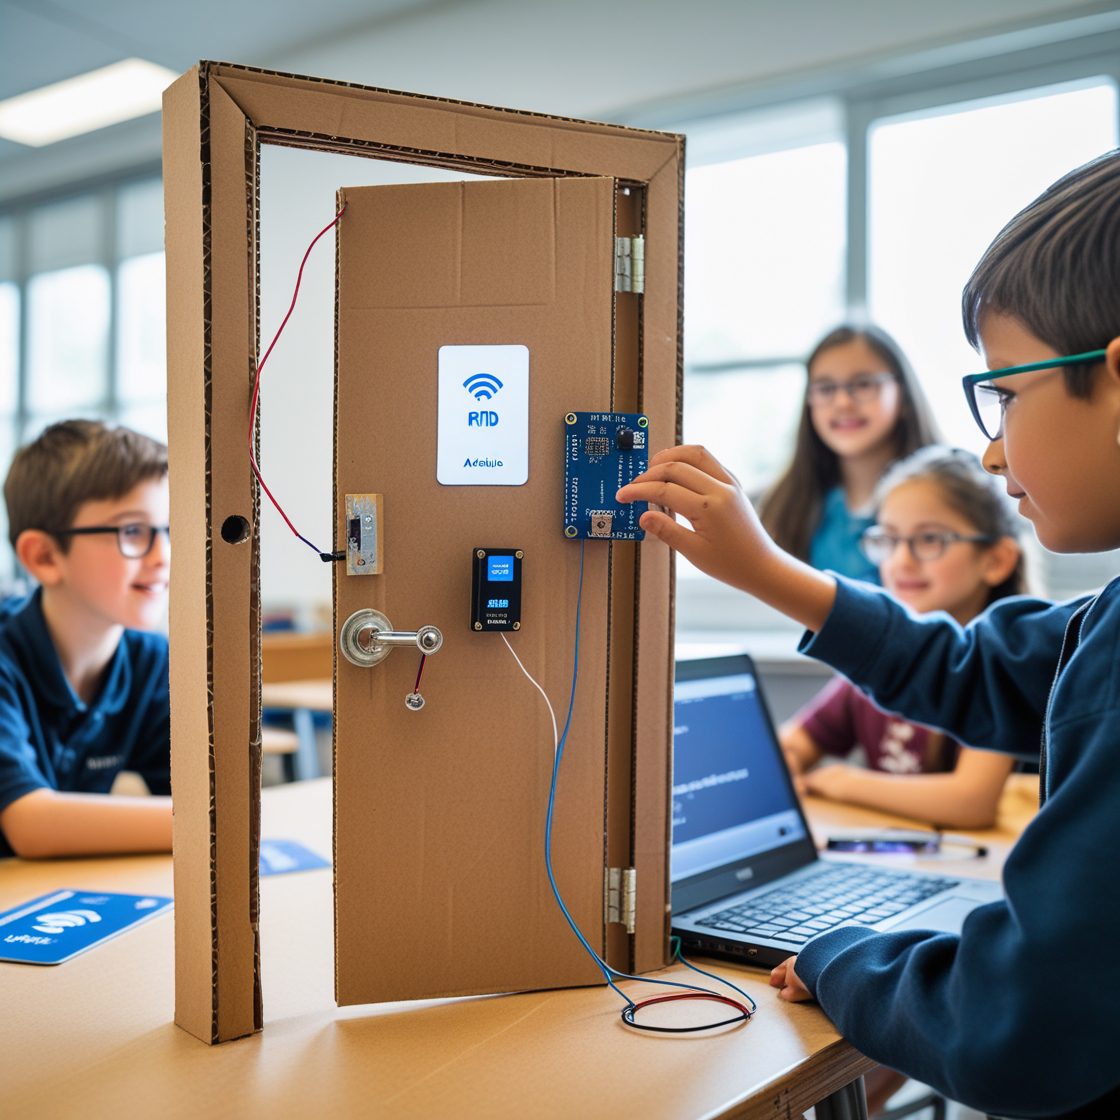
How to Build a RFID-Based Lock System
Create a secure RFID-based lock system with this step-by-step guide, using components like an RFID reader, Arduino, and solenoid lock to control access. Includes materials, interactive instructions, video tutorials, troubleshooting tips, customization ideas, and a project gallery.
Project Outcome
By completing this project, you’ll build an RFID-based lock system that unlocks a solenoid lock using an RFID card or tag. This hands-on project uses components like an Arduino, RFID reader, and relay module, teaching electronics, programming, and access control.
- Build Skills: Master circuit assembly and coding.
- Customize: Add LED indicators, buzzer alerts, or multiple user tags.
- Learn: Gain experience in RFID technology and microcontrollers.
Perfect for beginners and enthusiasts interested in electronics and security systems!
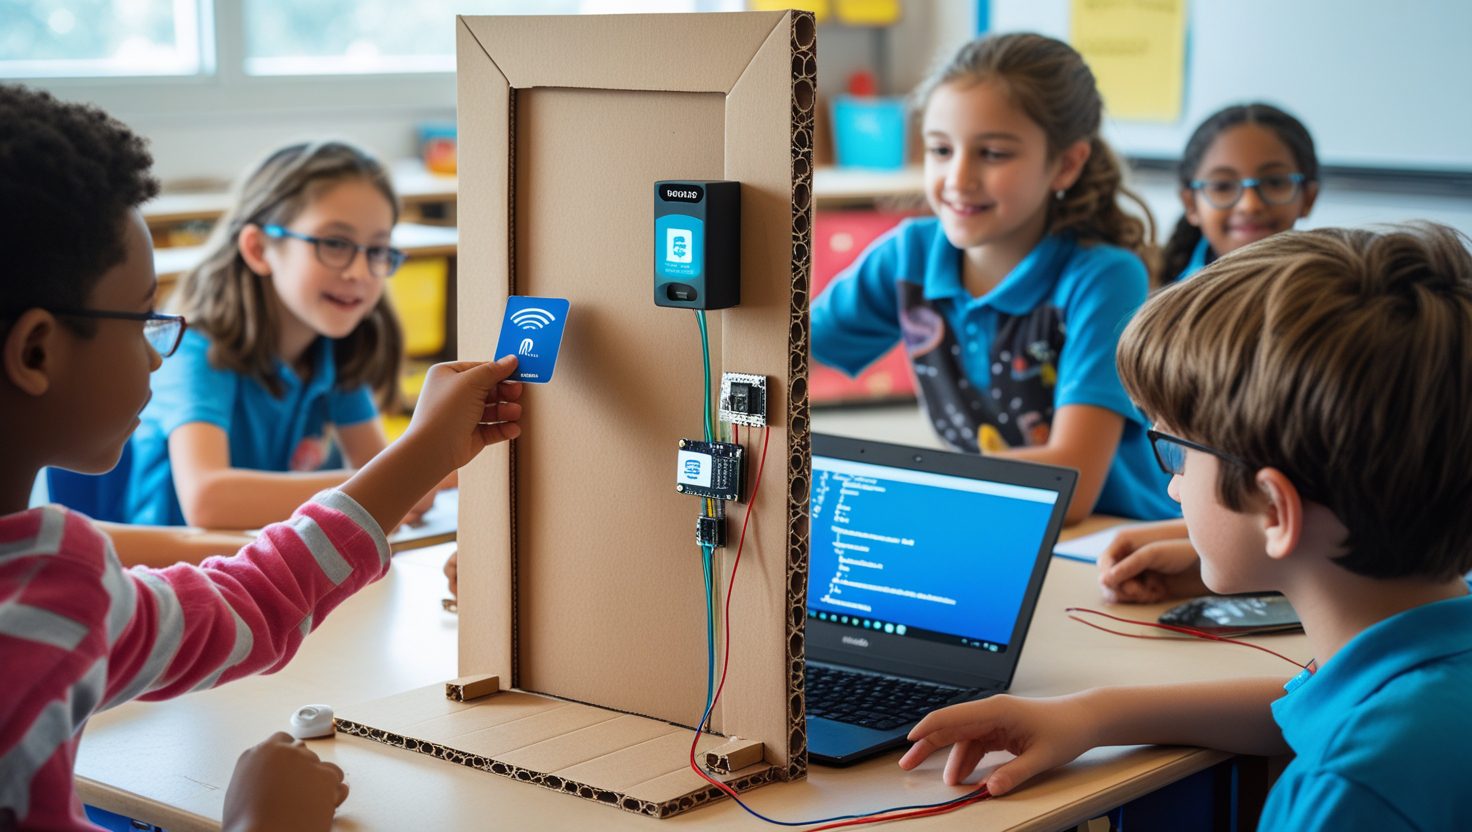
What You'll Learn
Circuit Assembly
Learn to connect RFID and solenoid components.
Programming
Code the microcontroller to read RFID tags.
Access Control
Understand RFID-based authentication.
Problem-Solving
Debug circuit and code issues.
RFID Technology
Explore wireless identification.
Required Materials
Microcontroller board
For reading RFID tags
Cards or key fobs
For lock mechanism
To control solenoid lock
For audible feedback
For visual feedback
For visual feedback
For connections
For prototyping
For LEDs
For solenoid power
For Arduino programming
Video Tutorials
Overview of RFID-Based Lock System Build
Troubleshooting Tips
RFID Reader Not Detecting Tags
Check wiring to RC522, ensure correct SPI pins, and verify RFID library is installed.
Solenoid Lock Not Activating
Confirm relay module wiring, ensure 12V power adapter is connected, and check relay code logic.
Buzzer or LEDs Not Working
Verify connections, ensure 220-ohm resistors are used for LEDs, and check code for output pins.
Arduino Not Responding
Check USB cable connection, select correct board/port in IDE, and verify code for errors.
Customization Ideas
+LED and Buzzer Feedback
Add red/green LEDs and buzzer for visual and audible feedback on tag scans.

+Multiple User Tags
Program multiple RFID tags for different users.
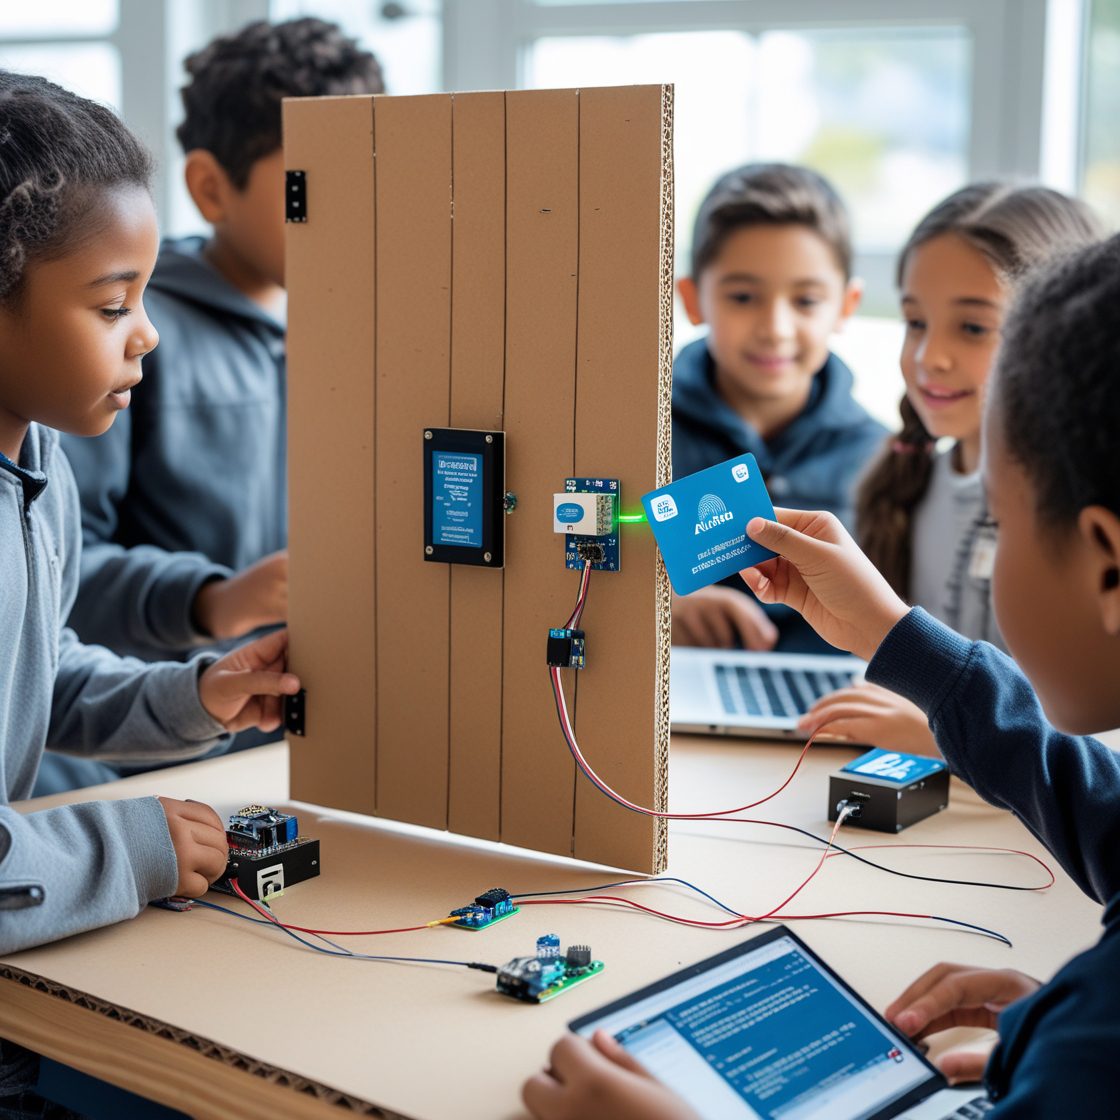
+Wi-Fi Integration
Add an ESP8266 module for remote access and control.
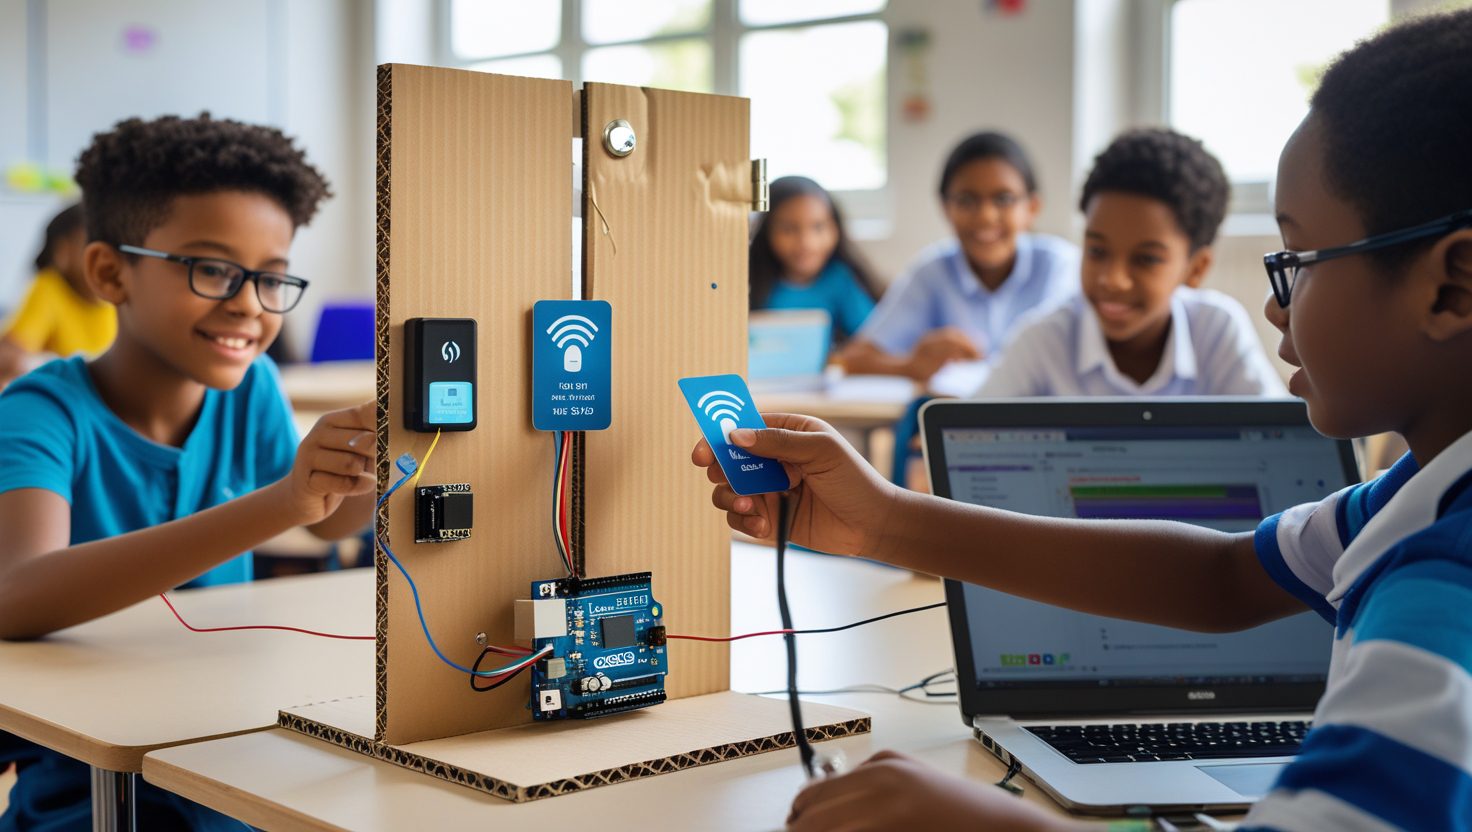
Project Gallery
